SQL Server on Linux on Kubernetes Part 2
This is part 2 of a series of posts about running SQL Server on Linux on Kubernetes. If you haven’t read part 1, I will encourage you to start there as this builds upon the work that came before. In part 1, we were able to deploy SQL Server on Linux as a container running in a pod on Kubernetes. We exposed that pod with a service and connected to it using Azure Data Studio. However, we took a few shortcuts like not providing any persistent storage for our data, and we embedded our database password in our manifest file. In part 2, we are going to create persistent storage and configure a secret object to hold our database password.
Creating persistent storage
Kubernetes has an object called a Persistent Volume. These volumes are used for persistent storage. There are multiple types, and since we are using MicroK8s as a single node testing cluster, we are going to use the HostPath type. If you were using this in a multi-node cluster, you would need to use a type that isn’t local to the node. As with all things in Kubernetes, we are going to create our persistent volume using YAML. We will need to define capacity, access mode, and path. We will have to use ReadWriteMany as our access mode. We also set a storage class name of sqlserver.
Here is our persistent volume:
apiVersion: v1
kind: PersistentVolume
metadata:
  name: sqldata
spec:
  capacity:
    storage: 500Mi
  storageClassName: sqlserver
  accessModes:
    - ReadWriteMany
  hostPath:
    path: "/tmp/sqldata"
You can notice that we named it sqldata, and we declared the capacity to be 500 Megabytes. We defined the path we wanted to mount as /tmp/sqldata. There is one final piece to make this all work, and that is the Persistent Volume Claim or claim for short. The claim allows our pod to consume our persistent volume. When defining the claim, you determine the type of specification of the kind of volume you need to consume and how much storage. In our specification, we are using storageClassName, which will link our claim to our persistent volume.
Here is our claim named dbclaim.
apiVersion: v1
kind: PersistentVolumeClaim
metadata:
  name: dbclaim
spec:
  accessModes:
    - ReadWriteMany
  storageClassName: sqlserver
  resources:
    requests:
      storage: 500Mi
Let’s place both the volume and claim in the same YAML file called storage.yaml and remember to separate the two objects with three hyphens.
apiVersion: v1
kind: PersistentVolume
metadata:
  name: sqldata
spec:
  capacity:
    storage: 500Mi
  storageClassName: sqlserver
  accessModes:
    - ReadWriteMany
  hostPath:
    path: "/tmp/sqldata"
---
apiVersion: v1
kind: PersistentVolumeClaim
metadata:
  name: dbclaim
spec:
  accessModes:
    - ReadWriteMany
  storageClassName: sqlserver
  resources:
    requests:
      storage: 400Mi
Now we can execute the YAML to create the objects in our cluster.
$ microk8s.kubectl apply -f storage.yaml
persistentvolume/sqldata created
persistentvolumeclaim/dbclaim created
Let’s check to make sure that these exist.
$ microk8s.kubectl get pv
NAME                                       CAPACITY   ACCESS MODES   RECLAIM POLICY   STATUS   CLAIM                               STORAGECLASS        REASON   AGE
pvc-4f6782fc-d575-4996-960b-7320a96b71e3   20Gi       RWX            Delete           Bound    container-registry/registry-claim   microk8s-hostpath            29d
sqldata                                    500Mi      RWX            Retain           Bound    default/dbclaim                     sqlserver                    3s
$ microk8s.kubectl get pvc
NAME      STATUS   VOLUME    CAPACITY   ACCESS MODES   STORAGECLASS   AGE
dbclaim   Bound    sqldata   400Mi      RWX            sqlserver      74s
Excellent, the last step is to enable our pod to use that claim. We need to add the volume, then mount that volume to our SQL Server container at the /var/opt/mssql mount point. Finally, and one of the most important steps is that we need to create an init container that will grant the mssql user, which has a UID of 10001, access to the volume. This will give SQL Server container that isn’t running as the root user permissions to write to the volume on the host.
apiVersion: v1
kind: Pod
metadata:
  labels:
    run: mydb
  name: mydb
spec:
  volumes:
    - name: sqldata-storage
      persistentVolumeClaim:
        claimName: dbclaim
  initContainers:
  - name: volume-permissions
    image: busybox
    command: ["sh", "-c", "chown -R 10001:0 /var/opt/mssql"]
    volumeMounts:
    - mountPath: "/var/opt/mssql"
      name: sqldata-storage
  containers:
  - image: mcr.microsoft.com/mssql/server
    name: mydb
    env:
    - name: ACCEPT_EULA
      value: "Y"
    - name: SA_PASSWORD
      value: TestingPassword1
    - name: MSSQL_PID
      value: Developer
    ports:
    - containerPort: 1433
      name: mydb
    volumeMounts:
    - mountPath: "/var/opt/mssql"
      name: sqldata-storage
---
apiVersion: v1
kind: Service
metadata:
   name: mydb
spec:
  type: NodePort
  ports:
  - port: 1433
    nodePort: 31433
  selector:
    run: mydb
Make sure to update the sql-server.yaml file from Part 1 with these changes. Volumes and VolumeMounts are properties that can’t be updated in Kubernetes. So we will have to delete our SQL Server first with the following command.
$ microk8s.kubectl delete -f sql-server.yaml
pod "mydb" deleted
service "mydb" deleted
Now we can recreate with our apply command.
$ microk8s.kubectl apply -f sql-server.yaml
pod/mydb created
service/mydb created
Let’s make sure our pod has started.
$ microk8s.kubectl get pods
NAME   READY   STATUS    RESTARTS   AGE
mydb   1/1     Running   0          41s
With everything recreated, let’s see if your persistent storage is being used.
$ ls /tmp/sqldata
data  log  secrets
Nice! We now have our SQL Server persisting data to a directory outside of the container.
Making our password a secret
We are defining our password in plaintext directly in the manifest file. We all know that this isn’t great practice and isn’t really a habit we need to start, so we are going to change it.
We are going to create a new Kubernetes Secret object name sql-password imperatively. The command will require the use of the –from-literal option that requires a key-value pair.
Here are the command and the output.
$ microk8s.kubectl create secret generic sql-password --from-literal=sa_password=TestingPassword1
secret/sql-password created
Now we need to modify our sql-server.yaml manifest to use the secret as an environment variable. Here are the changes.
apiVersion: v1
kind: Pod
metadata:
  labels:
    run: mydb
  name: mydb
spec:
  volumes:
    - name: sqldata-storage
      persistentVolumeClaim:
        claimName: dbclaim
  initContainers:
  - name: volume-permissions
    image: busybox
    command: ["sh", "-c", "chown -R 10001:0 /var/opt/mssql"]
    volumeMounts:
    - mountPath: "/var/opt/mssql"
      name: sqldata-storage
  containers:
  - image: mcr.microsoft.com/mssql/server
    name: mydb
    env:
    - name: ACCEPT_EULA
      value: "Y"
    - name: SA_PASSWORD
      valueFrom:
        secretKeyRef:
          name: sql-password
          key: sa_password
    - name: MSSQL_PID
      value: Developer
    ports:
    - containerPort: 1433
      name: mydb
    volumeMounts:
    - mountPath: "/var/opt/mssql"
      name: sqldata-storage
---
apiVersion: v1
kind: Service
metadata:
   name: mydb
spec:
  type: NodePort
  ports:
  - port: 1433
    nodePort: 31433
  selector:
    run: mydb
That’s really all there is to it. We will need to delete our database and recreate it to make this type of change. Good thing, we set up a persistent volume.
$ microk8s.kubectl delete -f sql-server.yaml
pod "mydb" deleted
service "mydb" deleted
Now apply the new manifest.
$ microk8s.kubectl apply -f sql-server.yaml
Now to test our change, we will open up Azure Data Studio and verify that we can still connect and log in with our saved connection from Part 1.
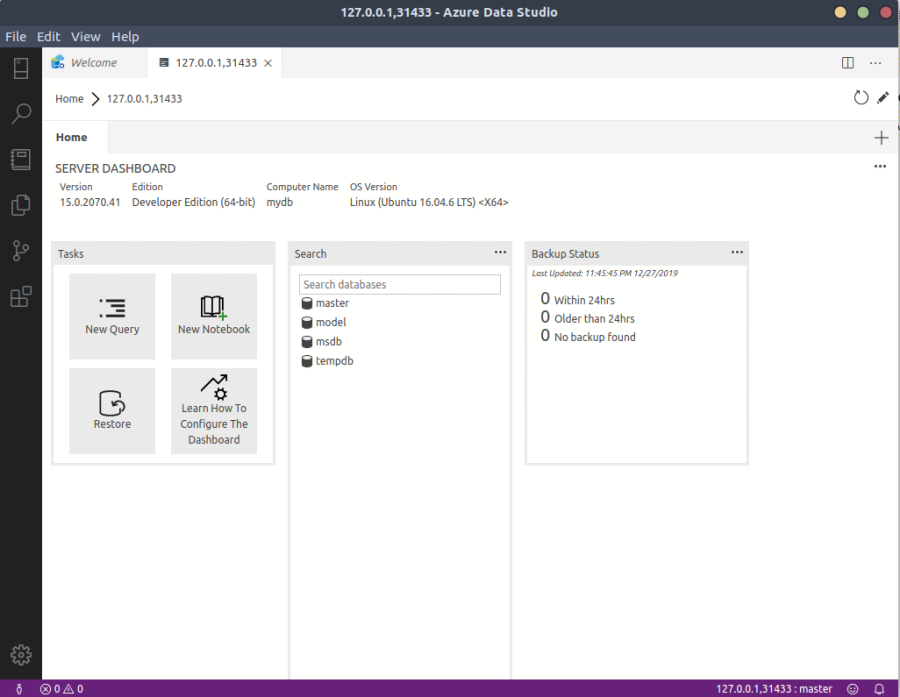
🤘 we secured our password.
Conclusion
We covered a lot of functionality in part 2. We need to get through these things so we can get to more fun and exciting things to come. Stay tuned for Part 3 will be turning it up a couple of notches.
Thanks for reading and I hope you enjoyed it.
Jamie
If you enjoy the content, then consider buying me a coffee.