PowerShell as default shell on Ubuntu
PowerShell as default shell on Ubuntu
Now that Microsoft are making its technologies Linux friendly, it is time for me to commit to using Linux even more. I really like PowerShell and I am tired of having to go back and forth between it and bash when switching. With that said, I decided I would just install PowerShell on my Ubuntu 16.04 box and make it my default shell.
Step 1: Install PowerShell
To make PowerShell my default, I need to first have it installed. I followed the instructions outlined here which are really good and give you a step by step as to what is needed. Note that you can also install using the .deb package.
Step 2: Set PowerShell as default
This took a little digging, as I typically don’t go this deep in shells. The first command I ran was to see if PowerShell was even detected as a shell that I could use.
cat /etc/shells
This returned:
# /etc/shells: valid login shells
/bin/sh
/bin/dash
/bin/bash
/bin/rbash
/usr/bin/powershell
Right there, last in the list is PowerShell. With some quick digging there is a utlity chsh that changes your shell. A quick -h after that command helped me figure out the correct incantation. So here it is to spare you the effort.
chsh -s /usr/bin/powershell <your-username>
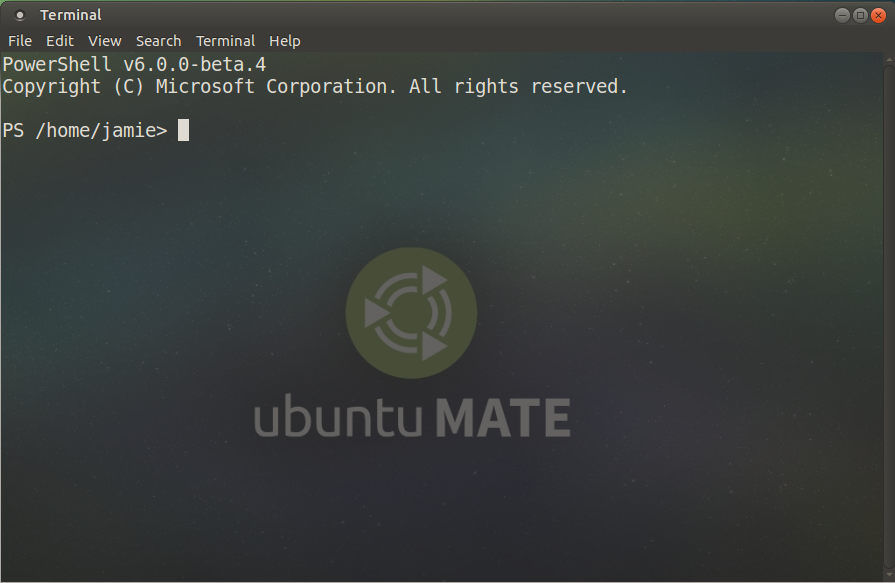
You will be prompted for your password. After that, logout of the system and log back in. Launch your default terminal and you should be greeted with this:
That is all, thanks for reading.
If you enjoy the content, then consider buying me a coffee.