Hyper-V enhanced session with Kubuntu
Hyper-V enhanced session with Kubuntu
I did a previous post about doing this with Pop!_OS, and now I am back doing this with Kubuntu 20.04. KDE has lots of advantages over GTK based desktop, with the biggest being the smaller memory footprint. KDE competes easily with Xfce from a memory standpoint. Just a note that I reused some screenshots from my previous post, so ignore the name and ISO selected.
Here we go:
Step 1: Download ISO
Download the ISO for Kubuntu. I used 20.04.
Step 2: Create Hyper-V Virtual Machine
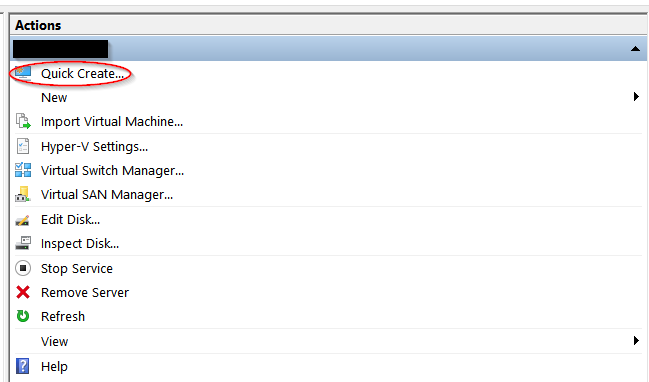
Open Hyper-V and use the Quick Create option to create a VM named Kubuntu.
Now select Local Installation source, click on Change installation source, and select the ISO you downloaded. Make sure to uncheck the box saying it is a Windows VM; secure boot will be disabled.
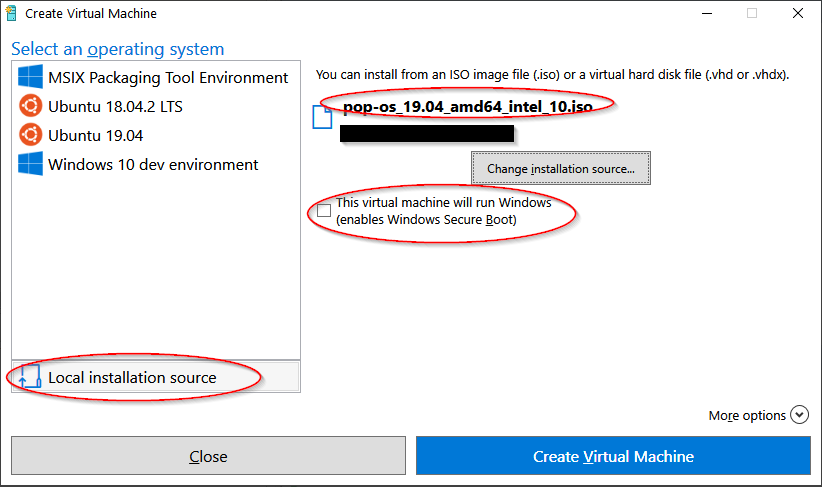
After that is all configured, click on Create Virtual Machine. Once that is complete, start up the virtual machine and run through the installation. After the reboot, we will get started with the next steps.
Step 3: Install libraries and configure XRDP
The documentation on Microsoft’s website isn’t correct, but this in the GitHub repo that we can use to get it working. The setup is pretty simple as it only requires us modifying lines 61 and 62. These lines define the Gnome Shell Session and the current desktop, which will not be Ubuntu when on Kubuntu. How do we determine the Gnome Shell Session and the current desktop for Kubuntu? We use the following command:
$ printf 'Desktop: %s\nSession: %s\n' "$XDG_CURRENT_DESKTOP" "$GDMSESSION"

Desktop: KDE
Session:
We put that information here, line 62, and we will remove line 61 as it isn’t required as we are not using Gnome, so it can be removed.
export XDG_CURRENT_DESKTOP=KDE
Here is the entire modified script:
#!/bin/bash

#
# This script is for Ubuntu 20.04 Focal Fossa to download and install XRDP+XORGXRDP via
# source.
#
# Major thanks to: http://c-nergy.be/blog/?p=11336 for the tips.
#

###############################################################################
# Use HWE kernel packages
#
HWE=""
#HWE="-hwe-20.04"

###############################################################################
# Update our machine to the latest code if we need to.
#

if [ "$(id -u)" -ne 0 ]; then
    echo 'This script must be run with root privileges' >&2
    exit 1
fi

apt update && apt upgrade -y

if [ -f /var/run/reboot-required ]; then
    echo "A reboot is required in order to proceed with the install." >&2
    echo "Please reboot and re-run this script to finish the install." >&2
    exit 1
fi

###############################################################################
# XRDP
#

# Install hv_kvp utils
apt install -y linux-tools-virtual${HWE}
apt install -y linux-cloud-tools-virtual${HWE}

# Install the xrdp service so we have the auto start behavior
apt install -y xrdp

systemctl stop xrdp
systemctl stop xrdp-sesman

# Configure the installed XRDP ini files.
# use vsock transport.
sed -i_orig -e 's/port=3389/port=vsock:\/\/-1:3389/g' /etc/xrdp/xrdp.ini
# use rdp security.
sed -i_orig -e 's/security_layer=negotiate/security_layer=rdp/g' /etc/xrdp/xrdp.ini
# remove encryption validation.
sed -i_orig -e 's/crypt_level=high/crypt_level=none/g' /etc/xrdp/xrdp.ini
# disable bitmap compression since its local its much faster
sed -i_orig -e 's/bitmap_compression=true/bitmap_compression=false/g' /etc/xrdp/xrdp.ini

# Add script to setup the ubuntu session properly
if [ ! -e /etc/xrdp/startubuntu.sh ]; then
cat >> /etc/xrdp/startubuntu.sh << EOF
#!/bin/sh
export XDG_CURRENT_DESKTOP=KDE
exec /etc/xrdp/startwm.sh
EOF
chmod a+x /etc/xrdp/startubuntu.sh
fi

# use the script to setup the ubuntu session
sed -i_orig -e 's/startwm/startubuntu/g' /etc/xrdp/sesman.ini

# rename the redirected drives to 'shared-drives'
sed -i -e 's/FuseMountName=thinclient_drives/FuseMountName=shared-drives/g' /etc/xrdp/sesman.ini

# Changed the allowed_users
sed -i_orig -e 's/allowed_users=console/allowed_users=anybody/g' /etc/X11/Xwrapper.config

# Blacklist the vmw module
if [ ! -e /etc/modprobe.d/blacklist_vmw_vsock_vmci_transport.conf ]; then
cat >> /etc/modprobe.d/blacklist_vmw_vsock_vmci_transport.conf <<EOF
blacklist vmw_vsock_vmci_transport
EOF
fi

#Ensure hv_sock gets loaded
if [ ! -e /etc/modules-load.d/hv_sock.conf ]; then
echo "hv_sock" > /etc/modules-load.d/hv_sock.conf
fi

# Configure the policy xrdp session
cat > /etc/polkit-1/localauthority/50-local.d/45-allow-colord.pkla <<EOF
[Allow Colord all Users]
Identity=unix-user:*
Action=org.freedesktop.color-manager.create-device;org.freedesktop.color-manager.create-profile;org.freedesktop.color-manager.delete-device;org.freedesktop.color-manager.delete-profile;org.freedesktop.color-manager.modify-device;org.freedesktop.color-manager.modify-profile
ResultAny=no
ResultInactive=no
ResultActive=yes
EOF

# reconfigure the service
systemctl daemon-reload
systemctl start xrdp

#
# End XRDP
###############################################################################

echo "Install is complete."
echo "Reboot your machine to begin using XRDP."
You can copy this and save it locally to execute, or you can grab it from this gist
# Only run this if you don't want to create it yourself.
$ wget https://gist.githubusercontent.com/phillipsj/49168017d3a28e99116a5f0f84bd627c/raw/445abad70a23379fface509ee6c235f2e8162b44/install.sh

$ chmod +x install.sh
$ sudo ./install.sh
Once that completes, you need to shut down the VM.
Step 4: Configure Hyper-V to use HvSocket for the Kubuntu VM
Now we need to enable the enhanced session using the following PowerShell command on your Windows host.
$ Set-VM -VMName Kubuntu -EnhancedSessionTransportType HvSocket
Once that completes, we can restart our Kubuntu VM, and you should be prompted to set a resolution and login with the new enhanced session.
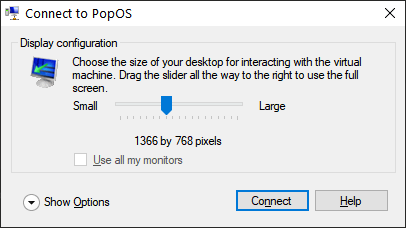
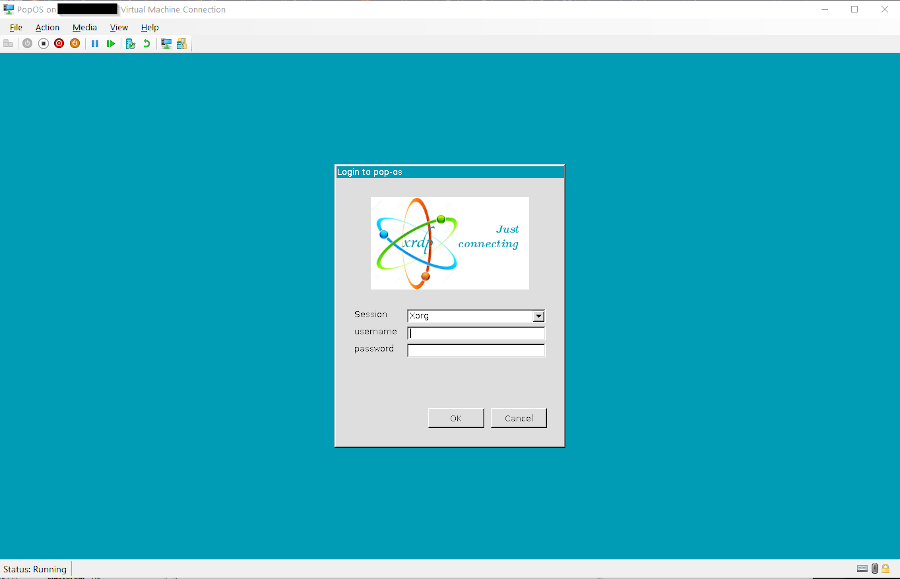
We are off to a good start as what resolution we want to use is prompted. Click on Connect, and we should be seeing the XRDP screen.
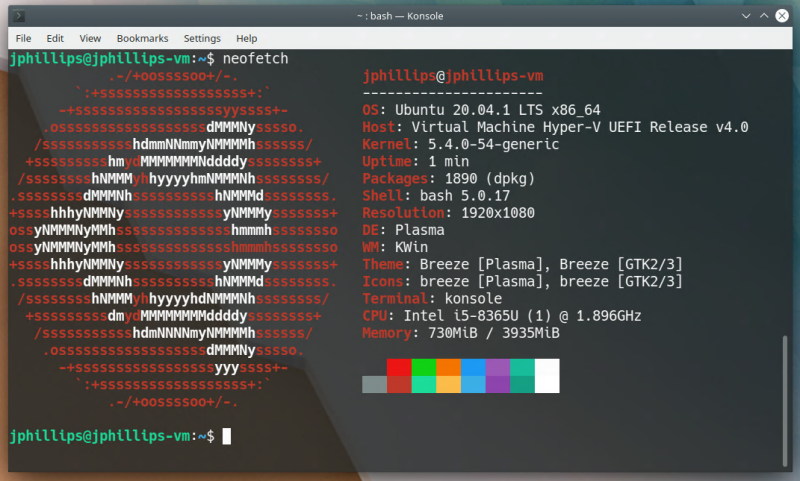
Now you can have a more seamless experience running Kubuntu on Hyper-V with full copy-paste support and file sharing. Here is a little neofetch action once logged in.
Conclusion
I think this is pretty cool that you are not required to use Ubuntu to get these features. It only takes a little work to get this working for any Ubuntu-based distribution. I have been using KDE pretty heavily this past year, and I will be staying on it as my primary desktop environment.
Thanks for reading,
Jamie
If you enjoy the content, then consider buying me a coffee.