How to Clean Your Intel NUC
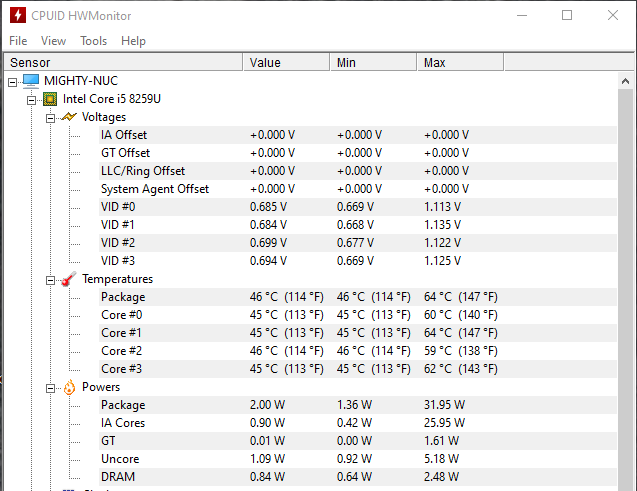
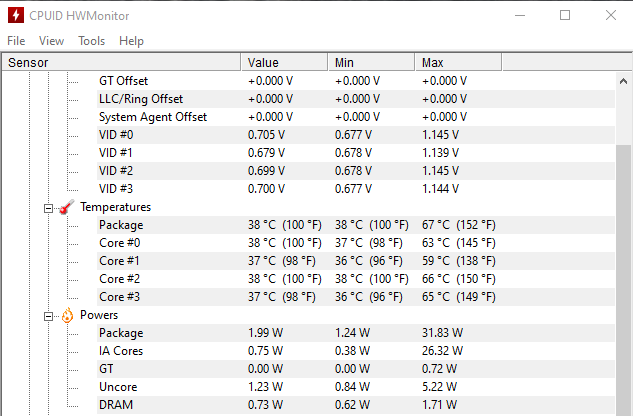
My new job has me relying a lot more on VMs, and I have had to do a little work on my homelab, so I could support running tools like Proxmox VE and Harvester. I have been using most of my Intel NUCs for a few years, and I started noticing that they are noisier now. Given the noise, I decided to take them apart, clean out all the dust, then apply some new thermal paste. I recorded a temperature before I cleaned each one and a temperature post-cleaning. The dust removal and new thermal paste dropped temps on average roughly 7 degrees Celsius. That isn’t too shabby, and it decreased the overall fan noise. I decided to take some pictures of me cleaning my Intel NUC 8th Gen i5, model NUC8i5BEK. The process is similar for others. Actually, the main difference is the heatsink fan and cooler. The rest is pretty much identical. If you have any questions about doing it, just reach out, and answer any questions. Here is the before temp.
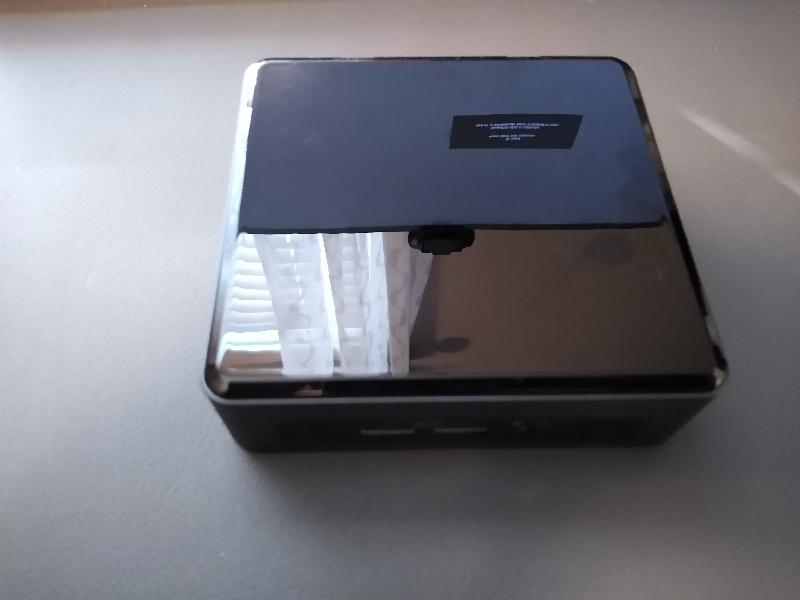
Here is the NUC.
Turn the NUC upside down.
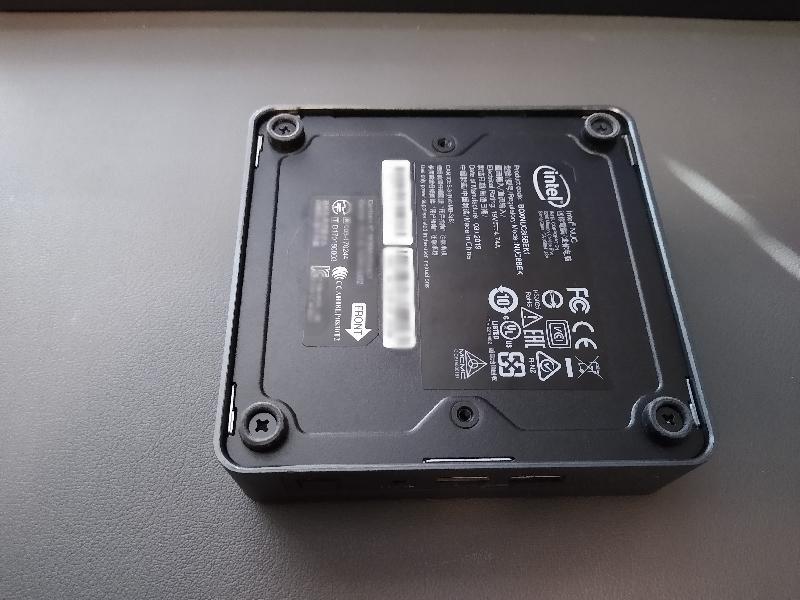
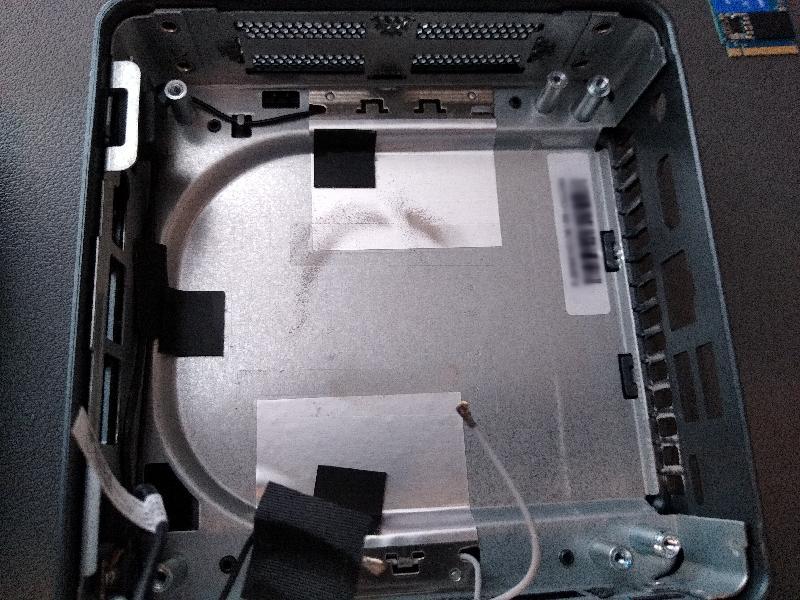
Remove the bottom of the NUC.

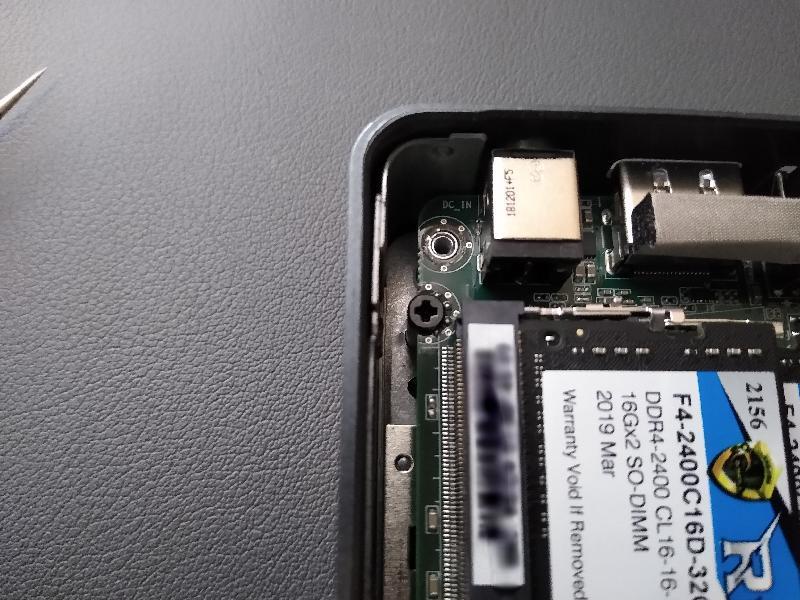
You will need to disconnect all cables and the wifi antenna.
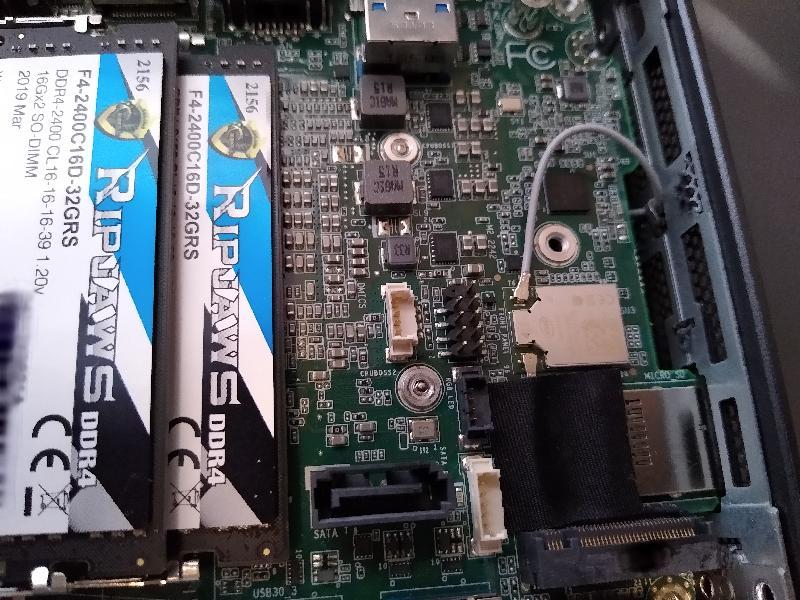
Next, find the two motherboard screws on each side and remove those.
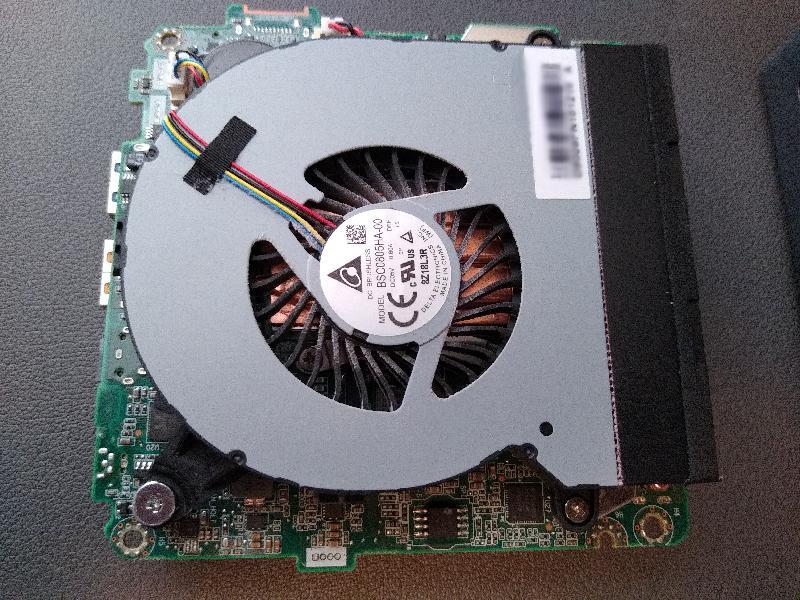
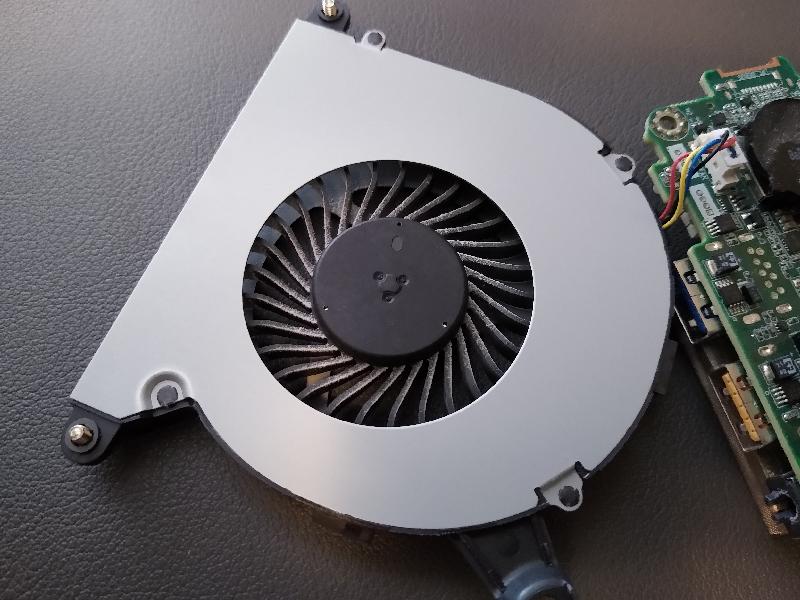
Now the whole motherboard should lift out. I would suggest lifting up at the front. I just gave it a little flex, and the ports all moved freely. Once it is free, flip it over so the fan and heatsink on facing you. You will need to remove the fan first, which has been just a couple of screws.
Then you can remove the heatsink, which is just a few screws too.
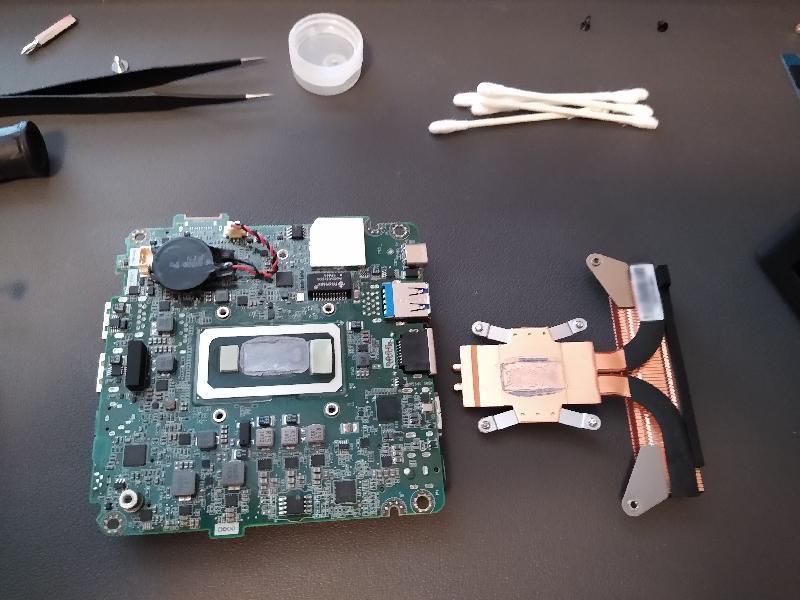
I used compressed air to remove the dust from the fan and heatsink. I then used isopropyl alcohol and cotton swabs to remove all the dust in the top of the case and off the board.
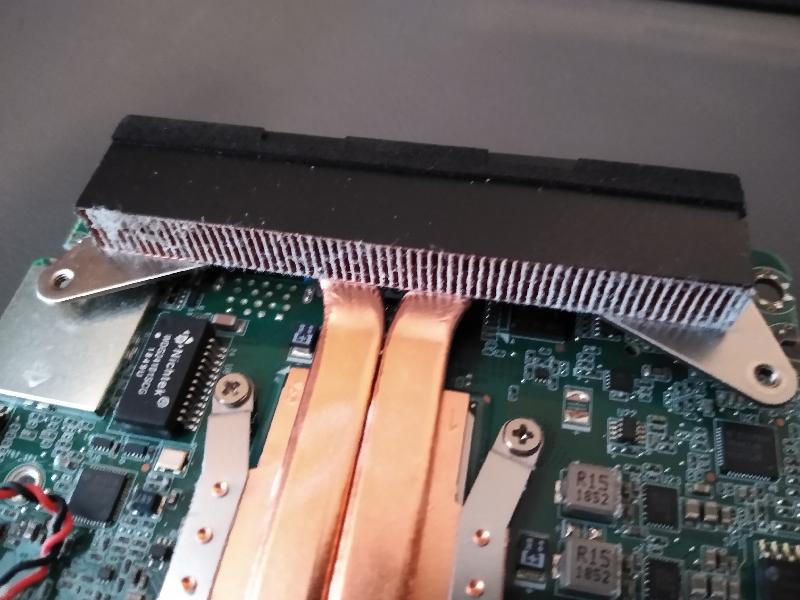
I then cleaned off the existing thermal paste. I applied a new Arctic MX-4 thermal paste.
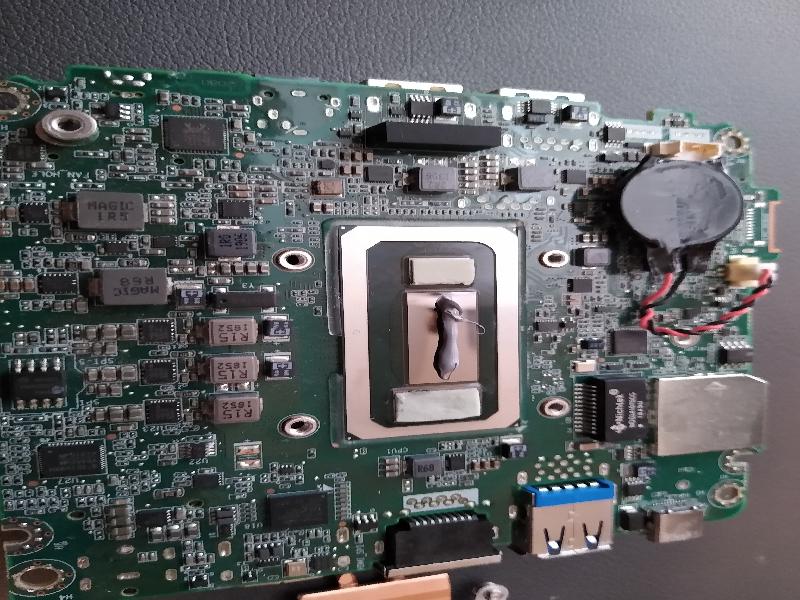
I then just put everything back together how I removed it. The trickiest part is going to be putting the motherboard back into the case. I found that inserting the rear first then flex of the front a little allowed it to drop back in. Here is a screenshot of the new temps.
I hope you found this helpful. It takes just a matter of minutes if you have everything ready.
Thanks for reading,
Jamie
If you enjoy the content, then consider buying me a coffee.