Harvester: Intro and Setup
I mentioned about a month back that I was using Harvester in my home lab. I didn’t go into much detail, and this is the post to bring some more depth. We will cover what Harvester does, my hardware, installation, setup, and deploying your first virtual machine. Let’s get started.
What is Harvester?
Harvester is Rancher’s open-source answer to a hyper-converged infrastructure platform. As with most things Rancher is involved with, it is built on Kubernetes using tools like KubeVirt, and Longhorn. KubeVirt is an interesting project that leverages KVM and libvirt to allow running virtual machines inside of Kubernetes. This allows you to run both containers and VMs in your cluster. This will reduce operation overhead and provide consistency. This is all tried and tested technology combined to provide an open-source solution in this space.
It is also designed to be used with bare metal, making it an excellent option for a home lab.
Hardware
If you check the hardware requirements, you will notice that these are more focused on business usage. So far, my personal experience says that you definitely want at least a 4 core/8 thread CPU, 16GB of RAM, and a large SSD, preferably an NVMe drive. Anything less resource-wise doesn’t leave enough capacity for running many containers or VMs. I will be installing it on an Intel NUC 8i5BEK which has an Intel Core i5-8259U. As far as RAM, it has 32GB of RAM and a 512GB NVMe drive. This handles running Harvester without any issue. Of course, this is just my experience, and your experiences could be different.
Installation
Harvester ships as an ISO, which you can download on the GitHub Releases page. You can pull it quickly using wget.
$ wget https://releases.rancher.com/harvester/v0.2.0/harvester-amd64.iso
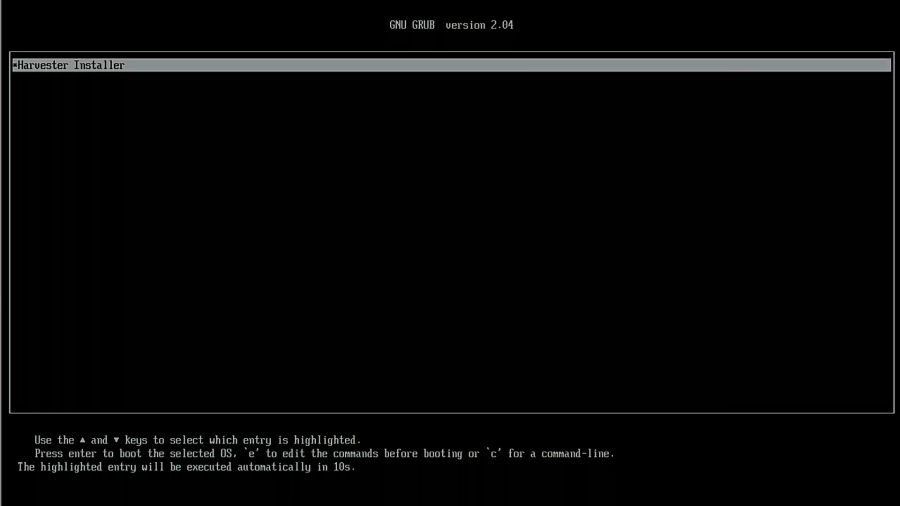
Once you have it downloaded, you will need to create a bootable USB. I typically use Balena Etcher since it is cross-platform and intuitive. Once you have a bootable USB, place it in the machine you want to use and boot the drive. You should be greeted by this screen.
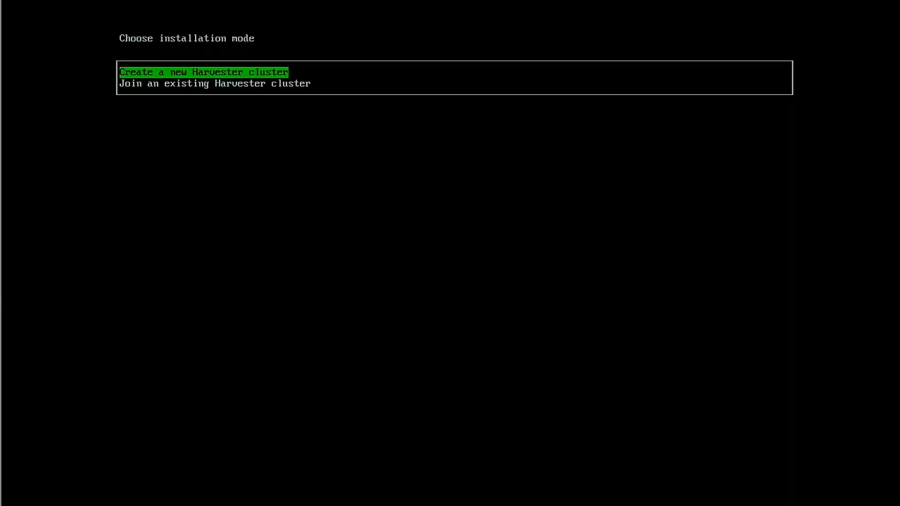
Select “New Cluster”
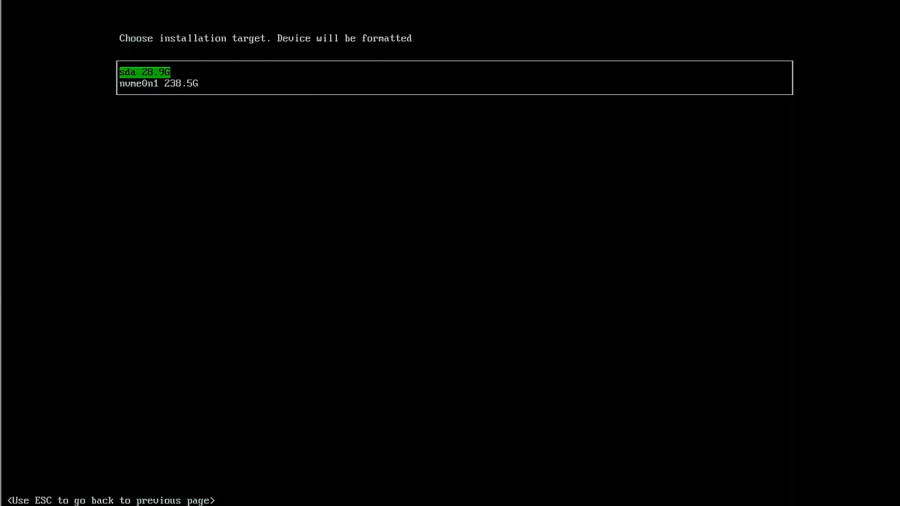
Select the drive you want to use.
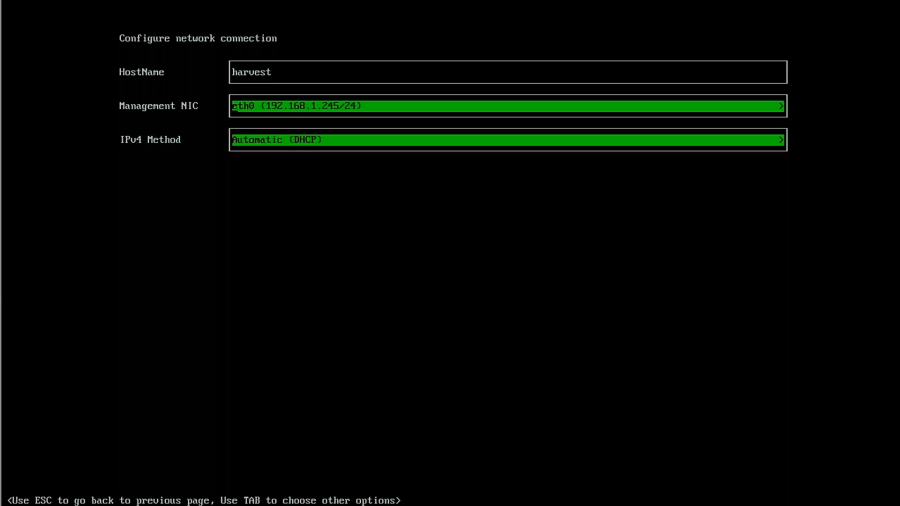
Enter your hostname, select your network interface, and make sure you are using automatic DHCP.
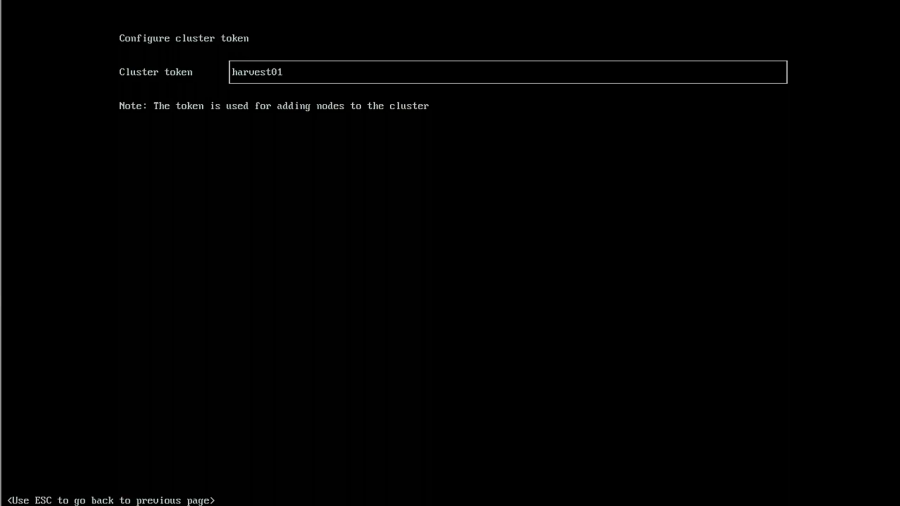
You will then be prompted to enter your cluster token. This can be any phrase your want, and I recommend using your password manager to generate one.
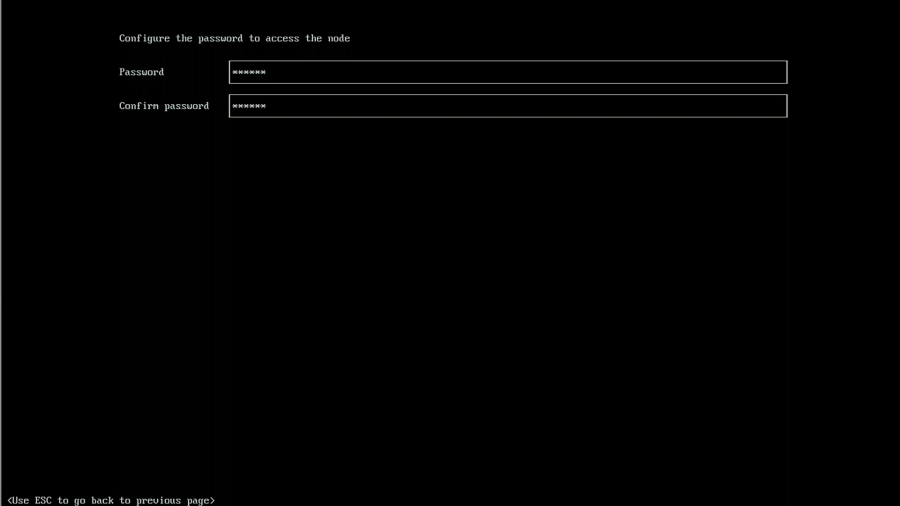
Set a password to use and remember that the default user name is rancher.
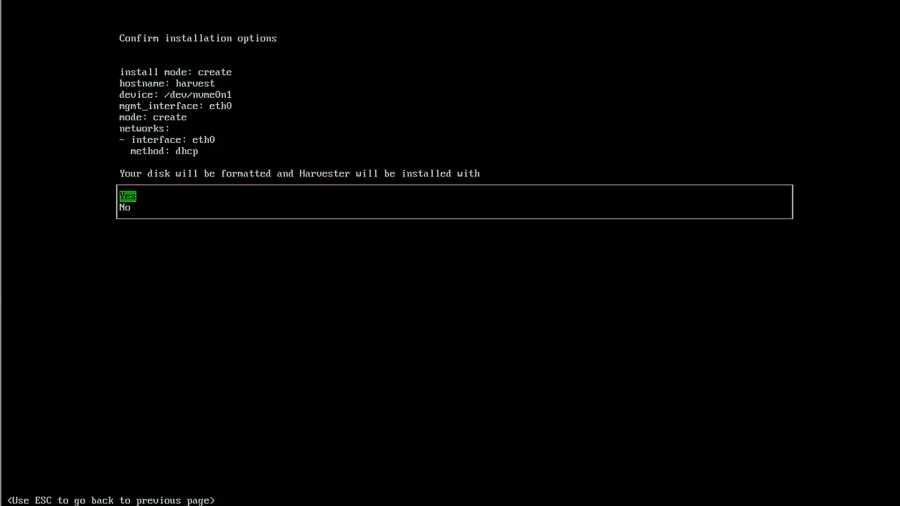
The following several options are attractive, especially if you want to leverage your SSH keys used in GitHub. Since this is a home lab, I left the SSH keys, proxy, and cloud-init setup blank. In an enterprise environment, this would be really useful. Now you will be shown the final screen before installation. Verify that everything is configured as your desired before proceeding.
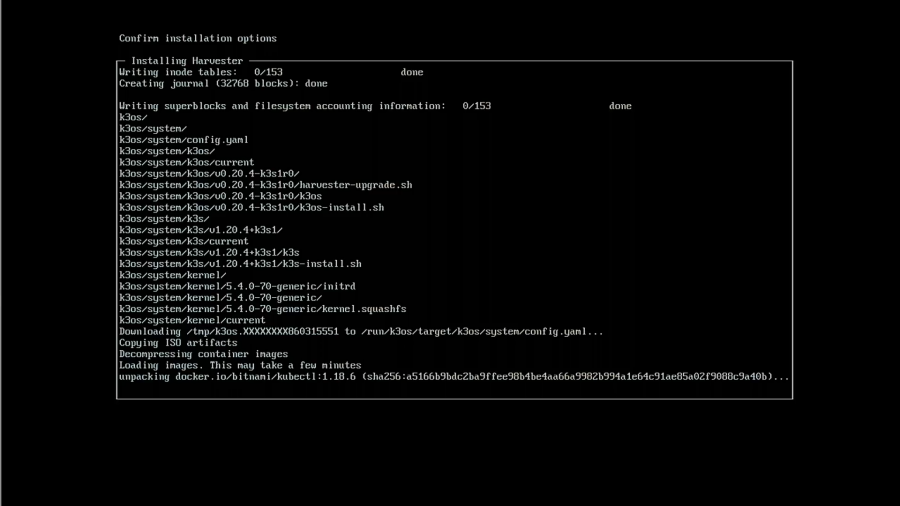
If it all looks great, then proceed with the installation. It will take a few minutes to complete the installation. When complete, you need to reboot.
After the reboot, the system will startup, and you will see a screen letting you know the URL for Harvester and the system’s status. You need to wait until it is reporting that Harvester is ready before trying to connect.
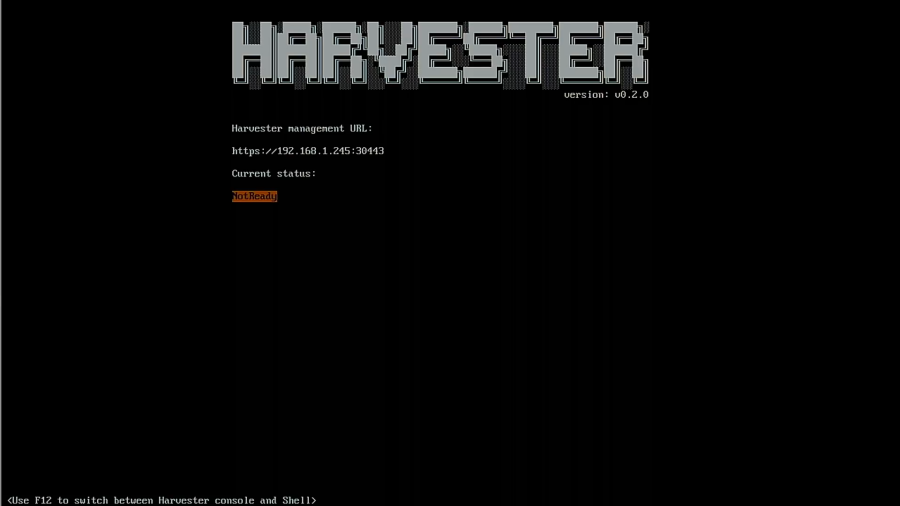

Great! It is now reporting that it is up and running, so it’s now time to set up Harvester.
Initial Setup
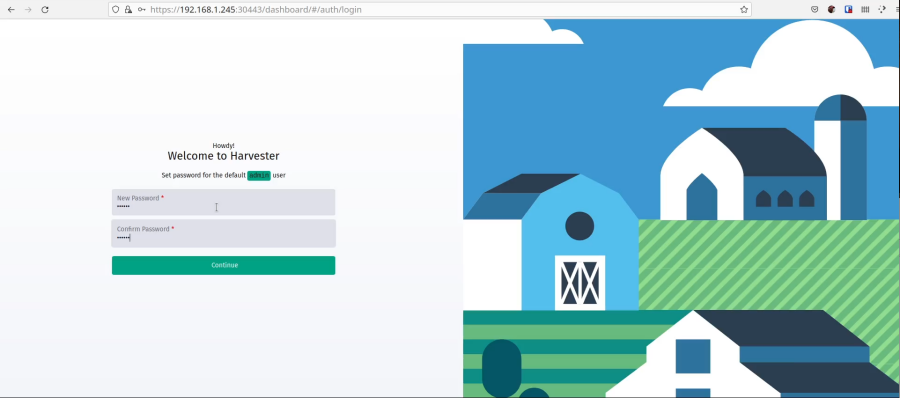
Now we can navigate to the URL listed when the OS boots. Mine is https://harvest:30443, and it uses a self-signed certificate by default, so you will see a warning in your browser. Just click on advanced to proceed and accept it. Set a password for the default admin account.
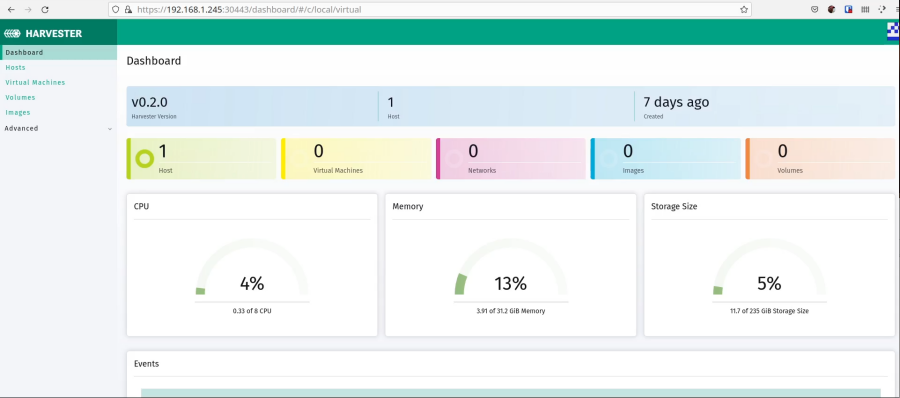
Now you should see the dashboard and the health of the system.
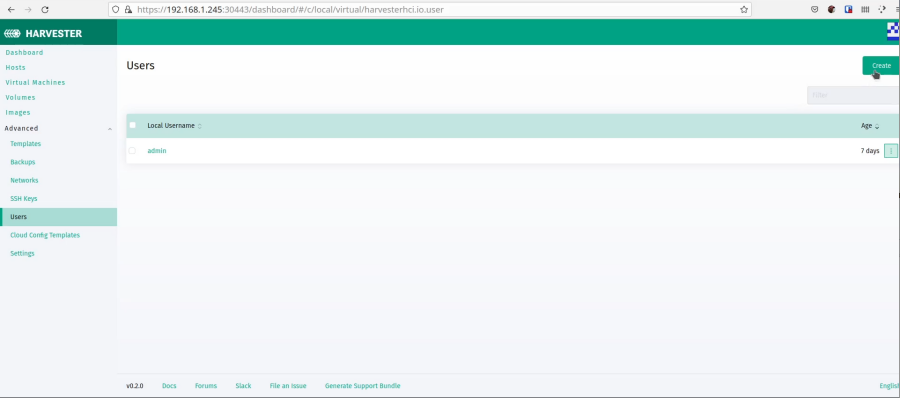
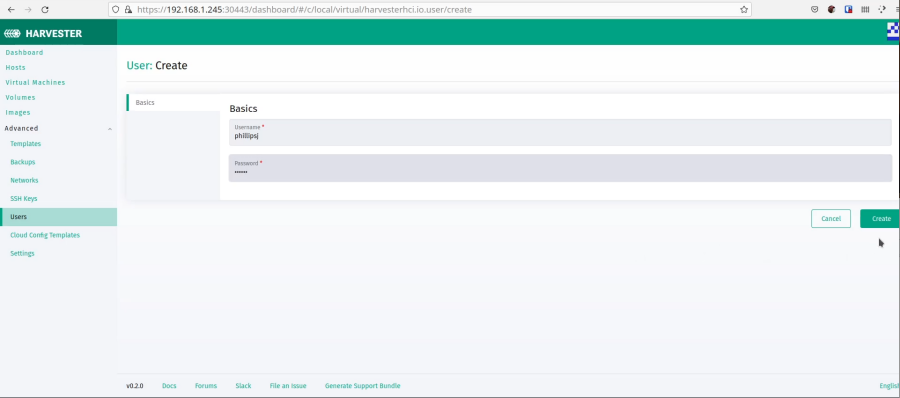
Now, I like to disable the default account and add my own account for authentication. Probably not necessary for a home lab, but a good habit to get into. Need to navigate to it.
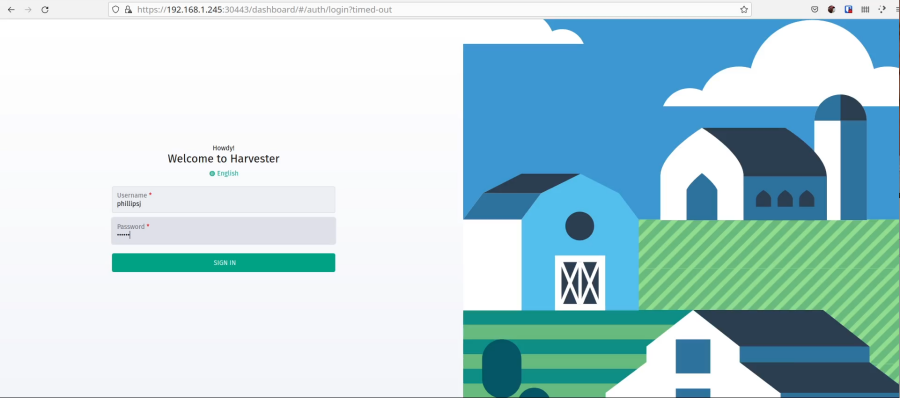
Now log out and back in with your new account. Now, we can create our first VM.
Deploying your first VM
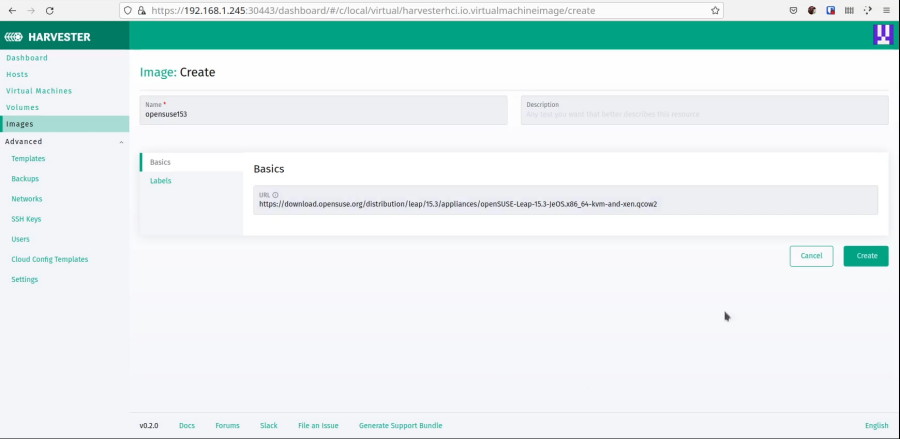
Harvester has native support for qcow2 images and can import those from a URL. Let’s grab the URL for openSUSE Leap 15.3 JeOS image.
https://download.opensuse.org/distribution/leap/15.3/appliances/openSUSE-Leap-15.3-JeOS.x86_64-kvm-and-xen.qcow2
The JeOS image for openSUSE is roughly 225MB which is a perfect size for downloading and creating VMs quickly. Let’s make the image in Harvester.
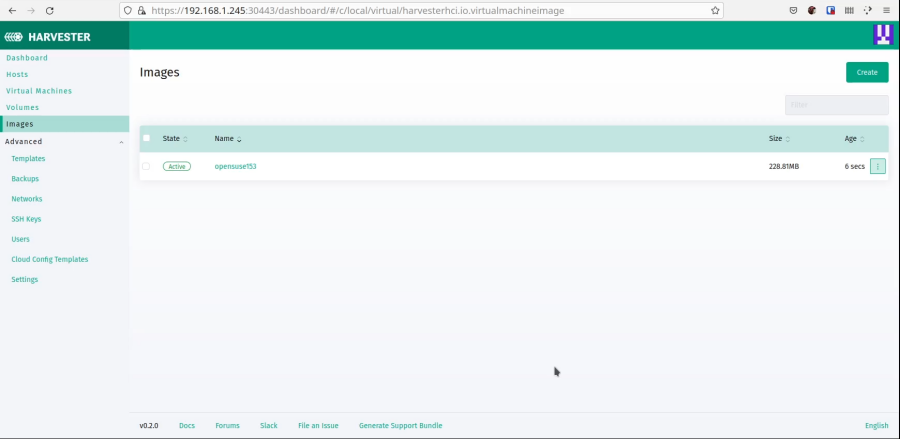
Now create a new image and add the URL above as the image URL.
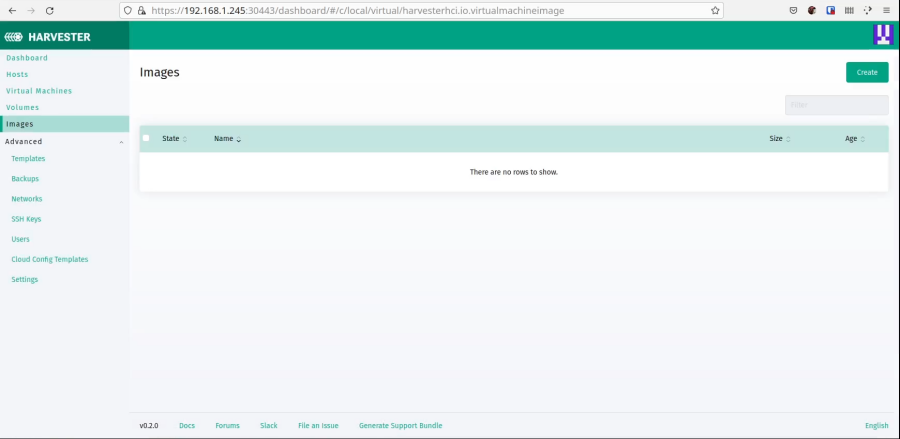
And now you should see it listed.
Now we can create a VM using that image. Navigate to the VM screen.
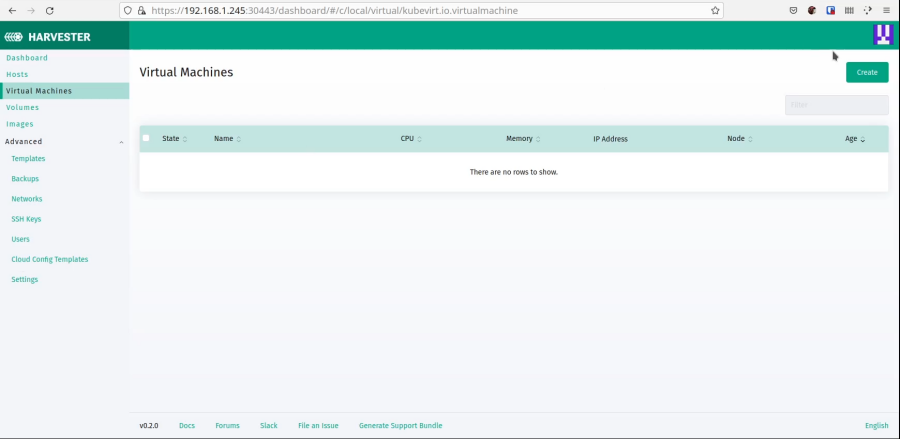
Now create a new VM.
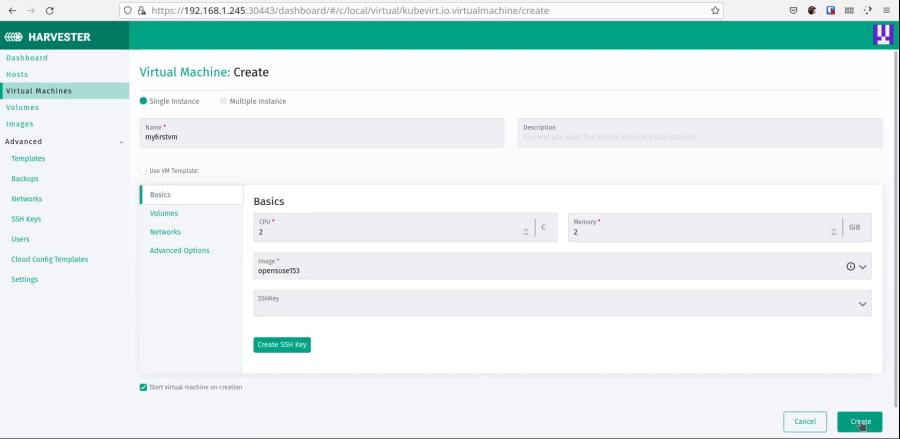
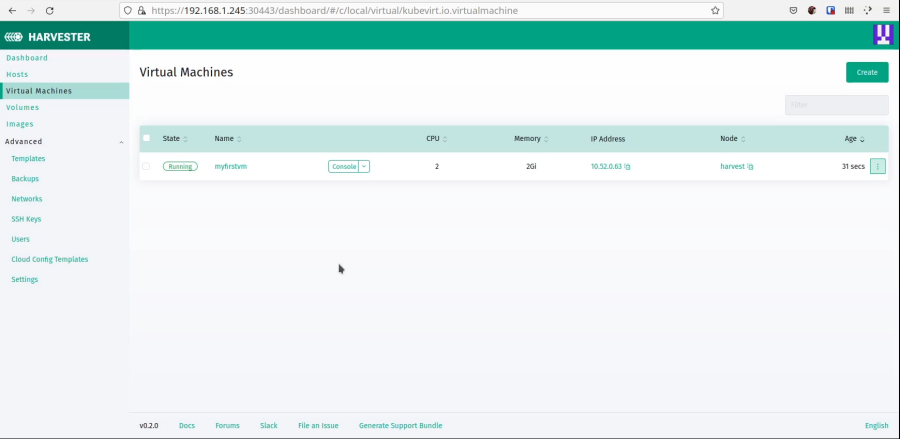
Once that is complete, the VM will show up in the list. Wait until it has been started, then you can start using it.
Wrapping Up
Thanks for sticking it out until the end. This one was a little longer than usual. I just wanted to capture from nothing to running VM to make it easier to get up and running with Harvester. There are plenty of features to explore and plenty of features that are on the roadmap. This project is still early in its lifecycle, and now is a great time to start using it and getting involved with its direction.
Again, thanks for reading,
Jamie
If you enjoy the content, then consider buying me a coffee.