Deploying Dash to Elastic Beanstalk
Deploying Dash to Elastic Beanstalk
Before I get started on how to deploy a Dash app to Elastic Beanstalk, I am going cover Dash. Dash is a Python framework for building dashboards using Plotly for building your charts and graphs. Dash also uses Flask and React.
Since Dash is based on Flask, we can use the Flask Elastic Beanstalk preconfigured Docker container tutorial as a reference, which we will discover hides some key pieces of information that we will need.
Step 1: Create Dash Virtual Environment
As with any Python project, lets create a virtaul environment for our dash app. This tutorial will assume you are working on Ubuntu.
$ cd ~
$ python3 -m venv .venvs/dash
Now let us activate this virtual environment before we continue.
$ source .venvs/dash/bin/activate
Step 2: Setup the project folder
Now lets create a folder and the initial files that we will need.
$ mkdir dash-example && cd .
Now let’s make the two files that are necessary to get a basic Dash app up and running.
$ touch application.py
$ touch Dockerfile.local
That is it! We will only need these two files to get it working.
Step 3: Install Dash packages and freeze
Now we just need to install our depedencies.
pip install dash==0.21.1
pip install dash-renderer==0.12.1
pip install dash-html-components==0.10.1
pip install dash-core-components==0.22.1
pip install plotly --upgrade
Now that those are installed, let’s create our requirements.txt file.
$ pip freeze > requirements.txt
Special Note
If you are running pip freeze on Ubuntu, your requirements.txt may end up with a package that will cause errors. Please search for pkg-resources==0.0.0 and remove it from your requirements.txt.
Step 4: Build your Dash app
Now I am not going to be original here and we are going to use the example application found in the Dash tutorial, with some slight modifications that I will explain.
Open your application.py and add the following:
import dash
import dash_core_components as dcc
import dash_html_components as html

app = dash.Dash()
# Beanstalk looks for application by default, if this isn't set you will get a WSGI error.
application = app.server

app.layout = html.Div(children=[
    html.H1(children='Hello Dash'),

    html.Div(children='''
        This is Dash running on Elastic Beanstalk.
    '''),

    dcc.Graph(
        id='example-graph',
        figure={
            'data': [
                {'x': [1, 2, 3], 'y': [4, 1, 2], 'type': 'bar', 'name': 'SF'},
                {'x': [1, 2, 3], 'y': [2, 4, 5], 'type': 'bar', 'name': u'Montréal'},
            ],
            'layout': {
                'title': 'Dash Data Visualization'
            }
        }
    )
])

if __name__ == '__main__':
    # Beanstalk expects it to be running on 8080.
    application.run(debug=True, port=8080)
Save your changes and let’s run it and see what we built. Run using the following command.
$ python3 application.py
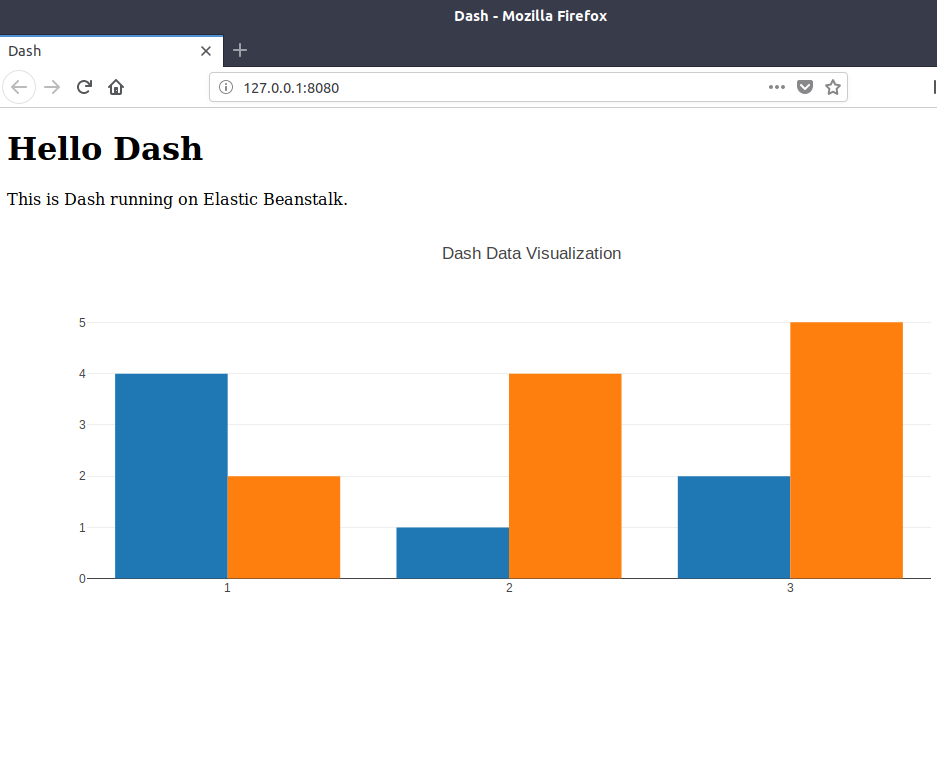
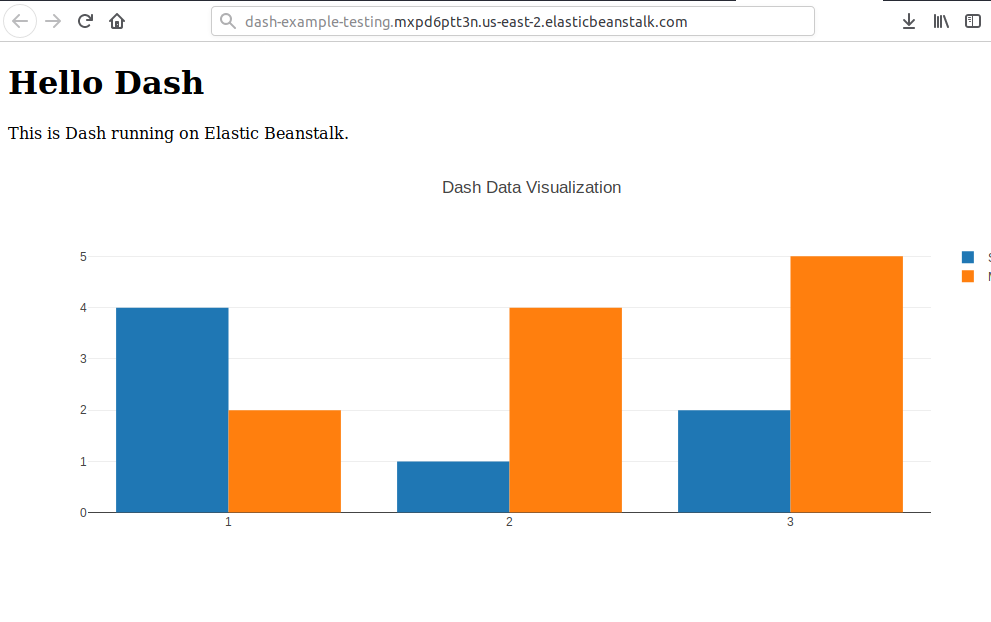
Navigate to http://localhost:8080 and you should see the following.
Step 5: The Dockerfile
Let’s open the Dockferfile.local in your favorite text editor and add the following.
FROM amazon/aws-eb-python:3.4.2-onbuild-3.5.1
Yep, that is it. This pulls down the AWS beanstalk image that is preconfigured for Python applications. Let’s be sure that it works by building the docker image and running it.
$ docker build -t dash-example .
Now let’s run it.
$ docker run -it --rm -p 3000:8080 dash-example
Navigate to http://localhost:3000/ and you should see this page again.
Now we are ready to deploy to beanstalk.
Step 6: Packaging for Beanstalk
At this point you can use the Elastic Beanstalk CLI or you can create an zip file that can be uploaded from the portal. We are going to choose the zip file approach.
So open your command prompt and type the following in the dash-example folder.
$ zip dash-example.zip application.py requirements.txt
Now you have a zip file with all the files needed by Elastic Beanstalk.
Step 7: Manually Deploying to Beanstalk
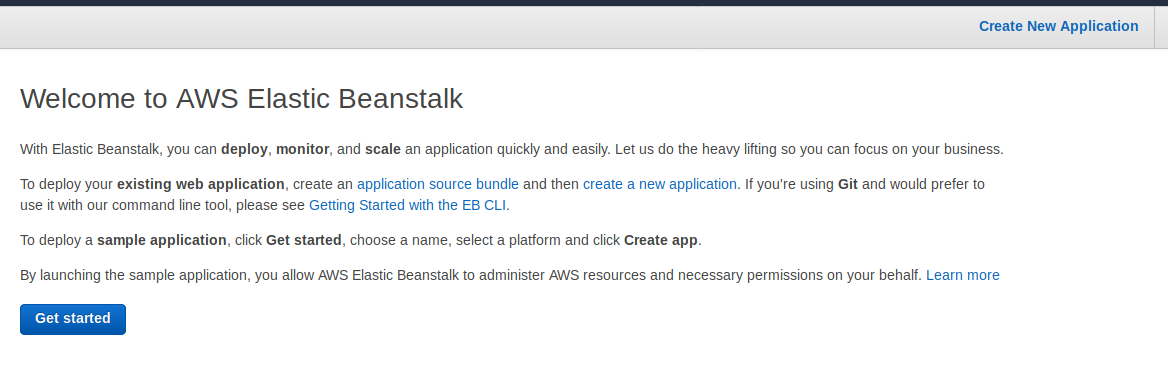
Log int your AWS console and navigate to Elastic Beanstalk.
We are going to create a new application by using the upper right hand link.
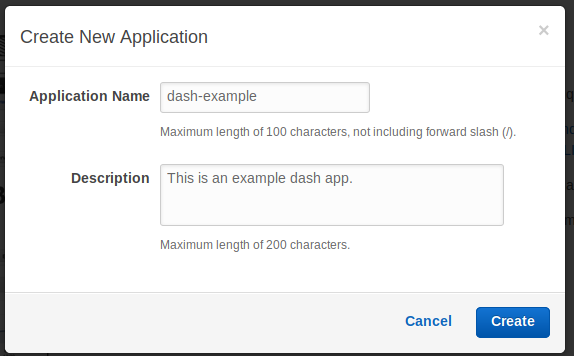
Now we are going to name the application and give it a description. I am going to keep it simple.
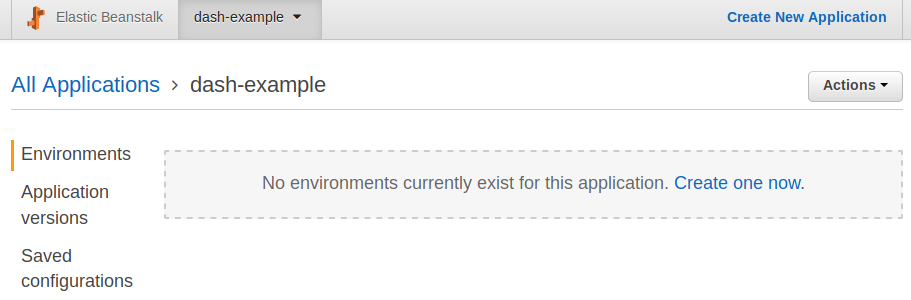
You should end up on the following screen.
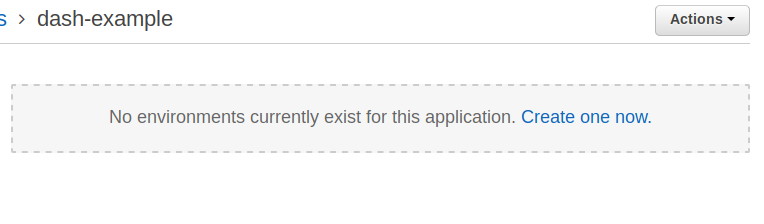
Now we are going to create an environment. An environment in elastic beanstalk is a unique deployment of an application. You can have as many environments as you like with different configurations. Another nice feature is that you can hot-swap the URLs between environments, this allows you to do blue-green deployments.
So, click on the Create one now. in the center of the screen to create an environment.
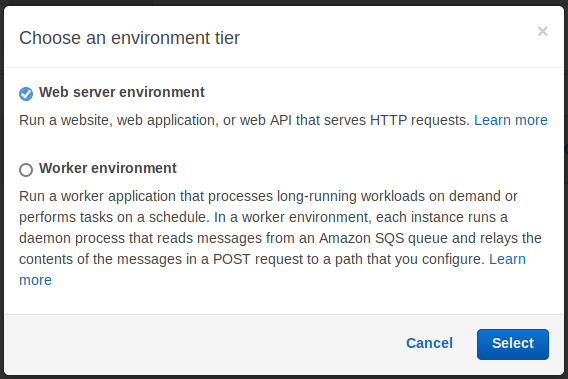
Stay with the Web server environment option here,
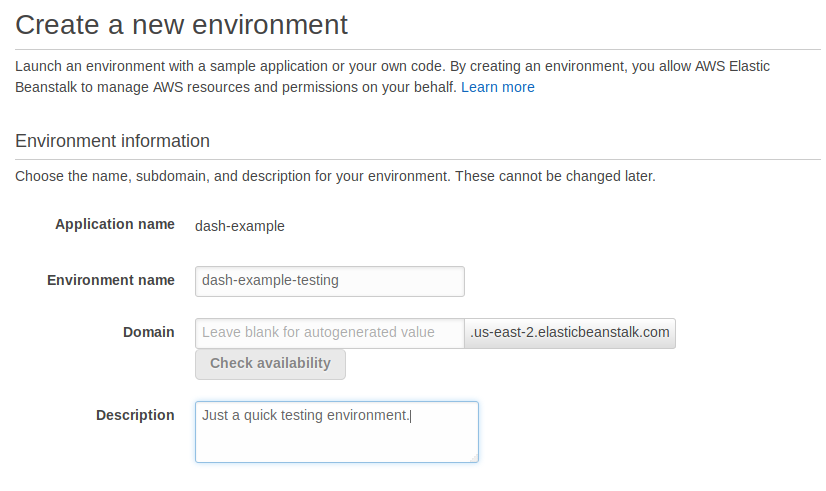
Now you will end up on the Create a new environment screen. Let’s change the Environment information section to match below.
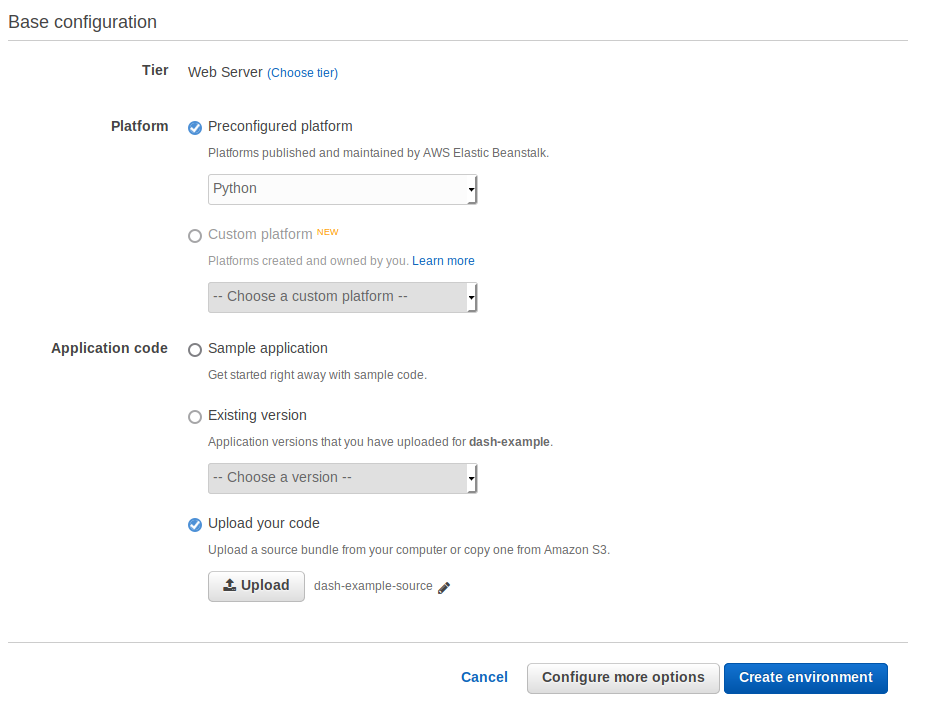
Now lets do the Base configuration section. This is where you will upload the zip file we created and select the preconfigured python image.
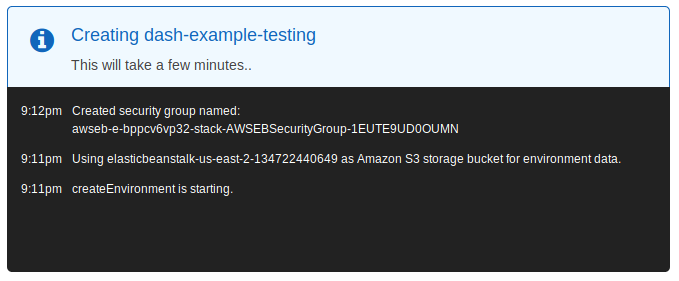
Okay, we are getting close, all you have to do is to click Create Environment. You should now be staring at the following screen.
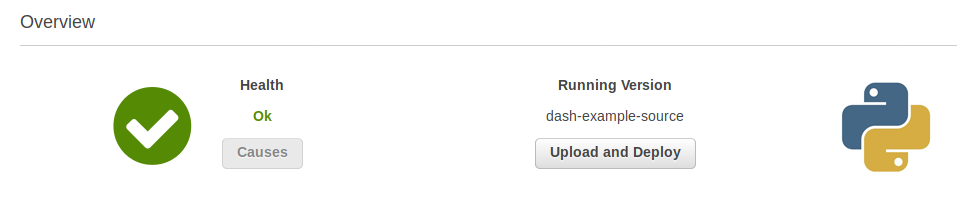
Once that is complete, you should see the following screen.
Now click on the the URL near the top and you should see this running from Elastic Beanstalk.
Guide Completed
Well if you made it this far, thank you for sticking around and reading. I hope you found this helpful and informative. I hope to have more AWS content over the next few weeks. As always, don’t hesitate to reach out to me on social media or Github.
If you enjoy the content, then consider buying me a coffee.