Building a Windows Server QCOW2 Image
I finally made it to the task that I was trying my best to complete. The whole purpose of creating a KVM setup with openSUSE and learning to Terraform libvirt was to be able to create Windows Server nodes for testing all things Kubernetes and Windows. I did a post discussing different options and trade-offs. The conclusion that I came to when it comes to my development workflow is to have as much local as possible. Creating resources in the cloud just takes too long for my personal needs. The last missing piece is getting a Windows Server QCOW2 image configured how I want it. That means having the following setup and configured:
- PowerShell Core installed
- OpenSSH Setup
- Chocolaety configured
- Containers feature enabled
- RDP Available
- PowerShell set as the default shell for SSH.
- All Windows Updates applied
- Cloudbase-init
All of this isn’t 100% required and since I am building my own base image I can add in all the extras that I want. Having a QCOW2 image available to use with Terraform to create Windows Server VMs is going to do wonders for my workflow. Having Cloudbase-init setup on it is going to dial this up to 11. The image is only going to be availabe internally to my network since we shouldn’t be distributing Windows images. That is one of the reasons I am making this guide is to show you have you can create one for your own use.
The main steps will be getting a copy of the Windows Server version you want to use. Then you need to get get a copy of the VirtIO Drivers that are needed for Windows. Then I would encourage you to make a list of software and ocnfiguration that you want to have installed. After that we will create our VM using Virt Manager on our local box, install Cloudbase-init which will provide the option to sysprep after it installs. At this point the VM will shutdown and we can export out our image.
Windows Software Required
I am go to list out the software that I downloaded ahead of time that, including software requires traditional installation on Windows.
- Windows Server 2019 ISO
- VirtIO Windows Drivers ISO
- Microsoft Edge Browser Setup (To replace IE)
- Cloudbase-init installer
Feel free to replace the browser with whatever browser you want to use. You will not want to use IE as the configuration on a server is painful. You may not feel like you need a browser, that’s your call.
Create the Virtual Machine in Virt Manager
Configuring a Windows VM for use with KVM is a touch more complex than I would have initially thought it would be. The Proxmox guide found here provides a lot of the details. The important items are configuring the network adapter to be VirtIO, the main disk to be VirtIO, and not forgetting to mount the VirtIO ISO as a CDROM. You will need to find the drivers for the network adapter and disk. Let’s get into it.
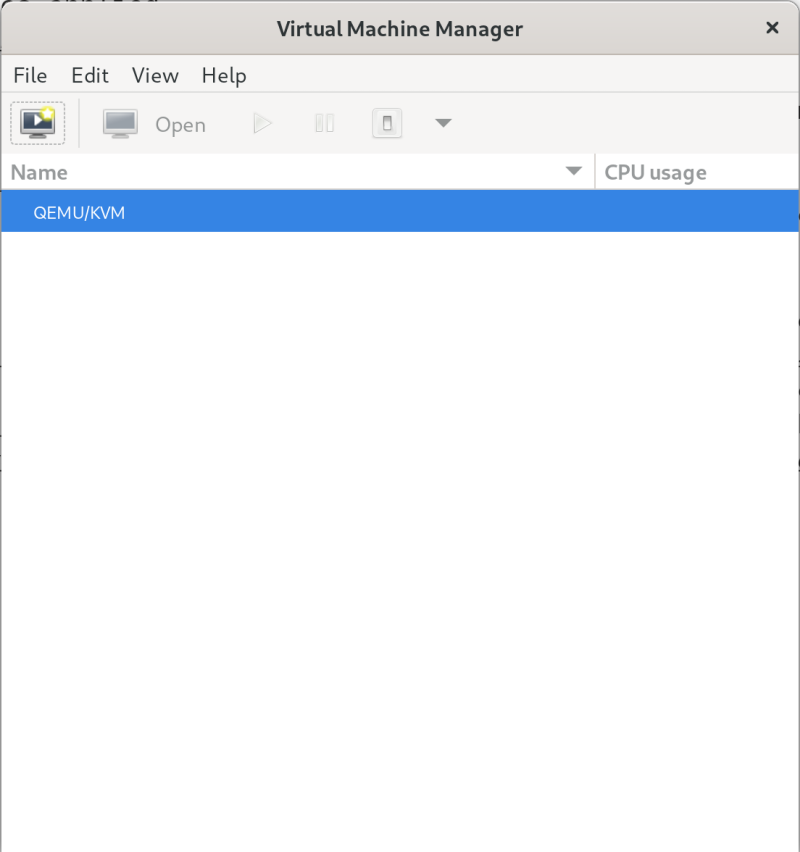
Open Virt Manager.
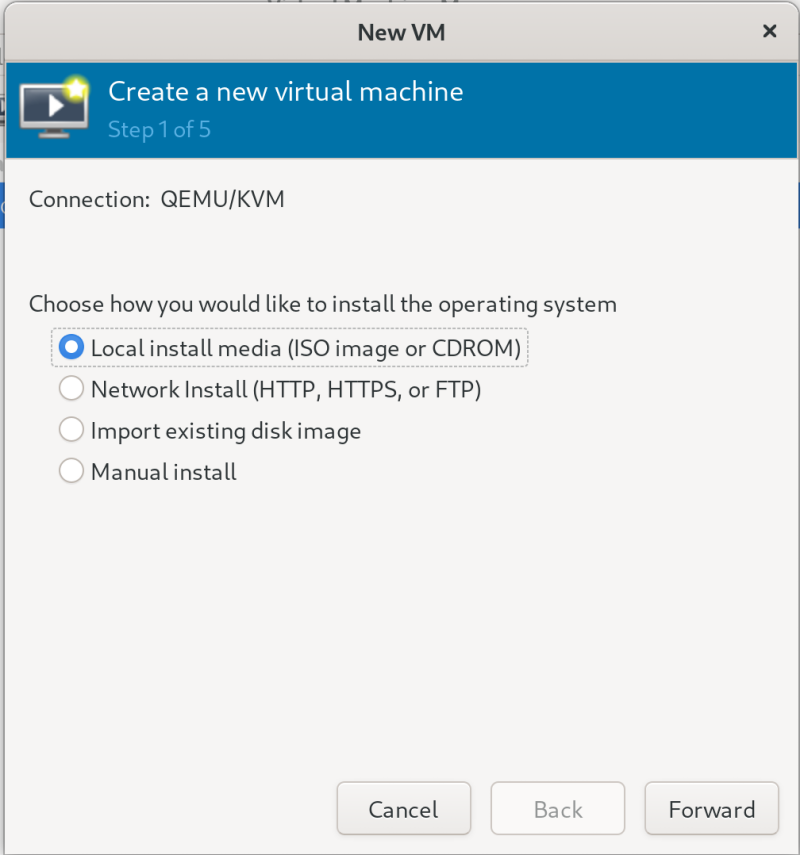
Create a new virtual machine
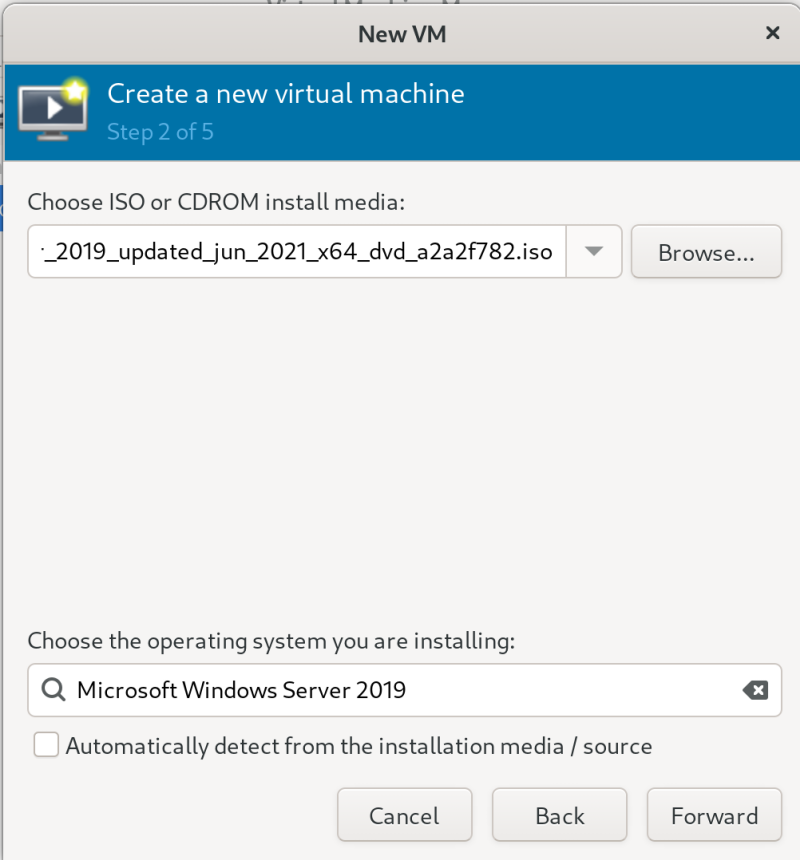
Select ISO and set the operating system version.
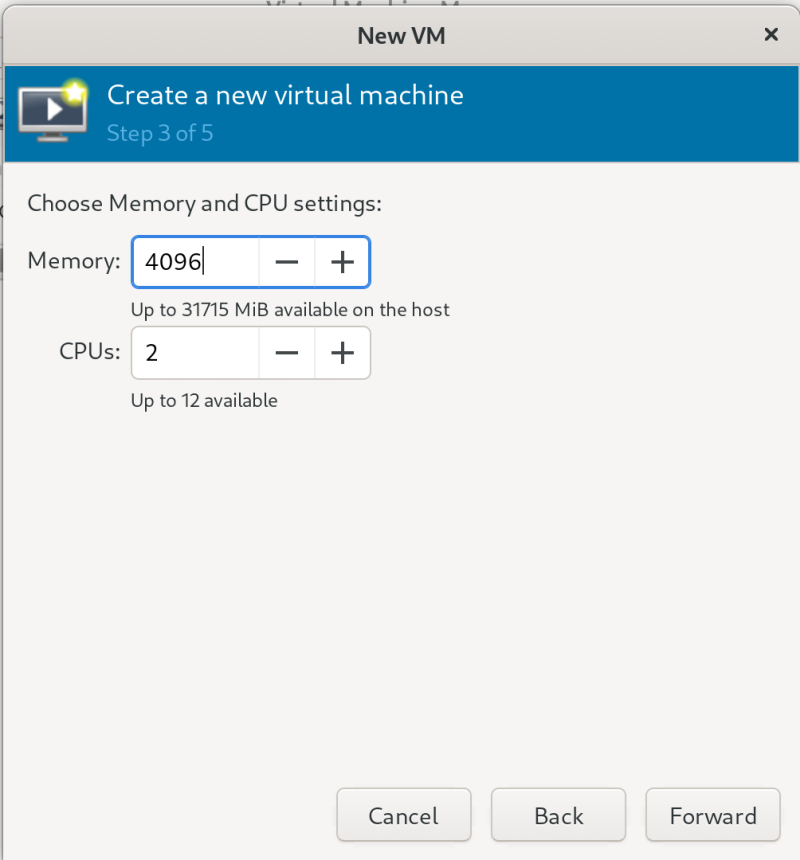
Set the RAM to 4096 and the CPU to 2. That should be plenty of resources for a basic install.
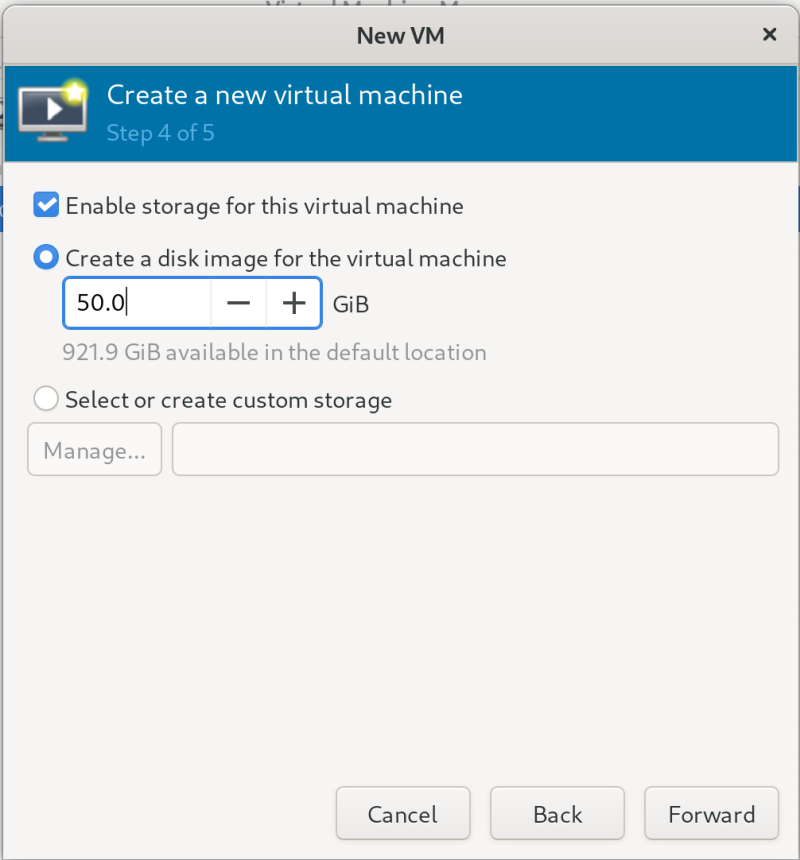
Now create the disk and I suggest making it at least 50GB.
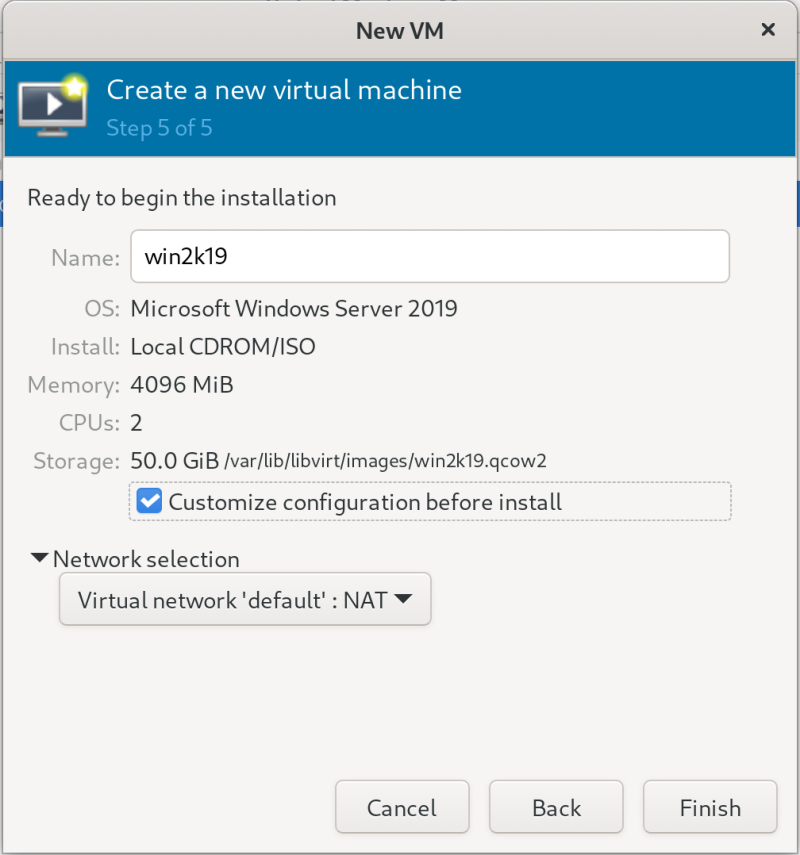
I am going to use the default name, feel free to change it. Make sure that you check the customization before install box because we need to make some changes before we start it up.
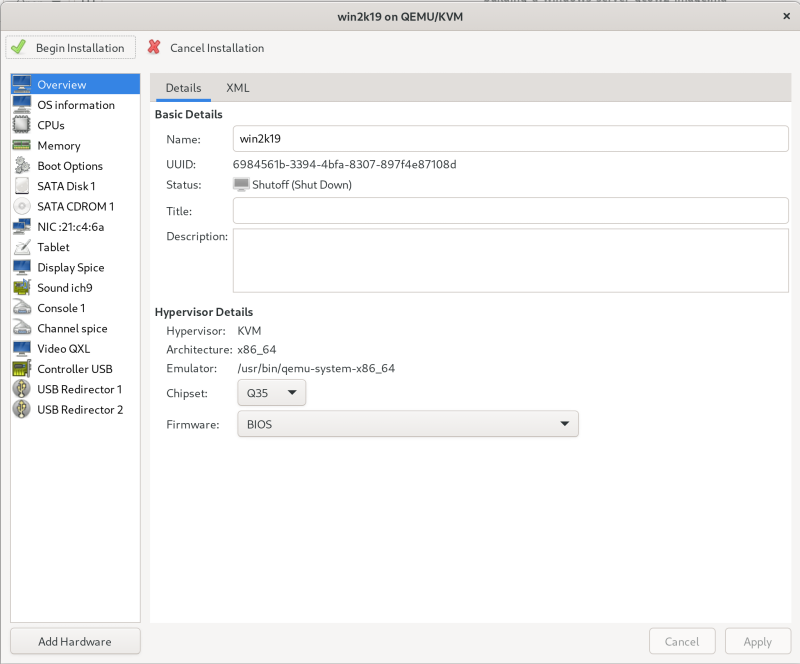
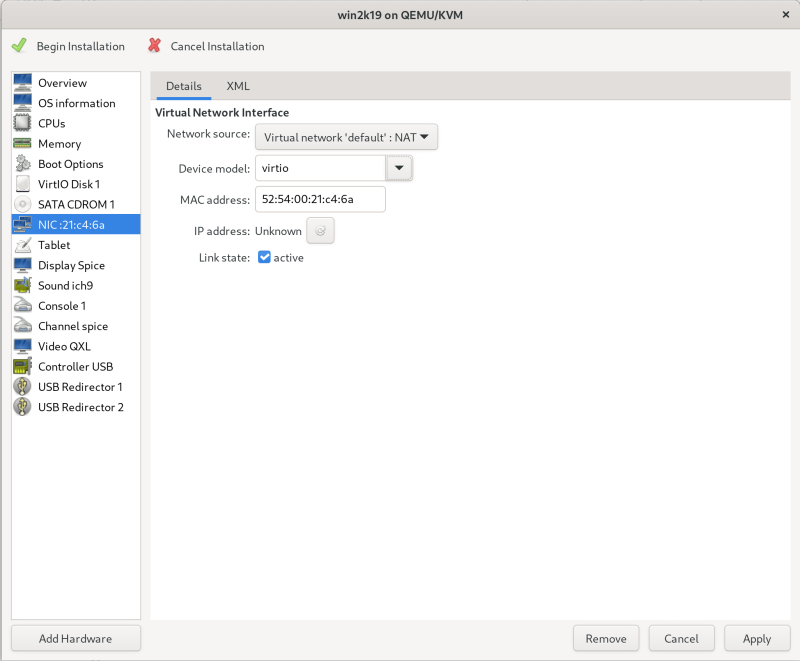
Once you complete that screen you should be greeted with the actual machine details screen. We will use this to customize our VM.
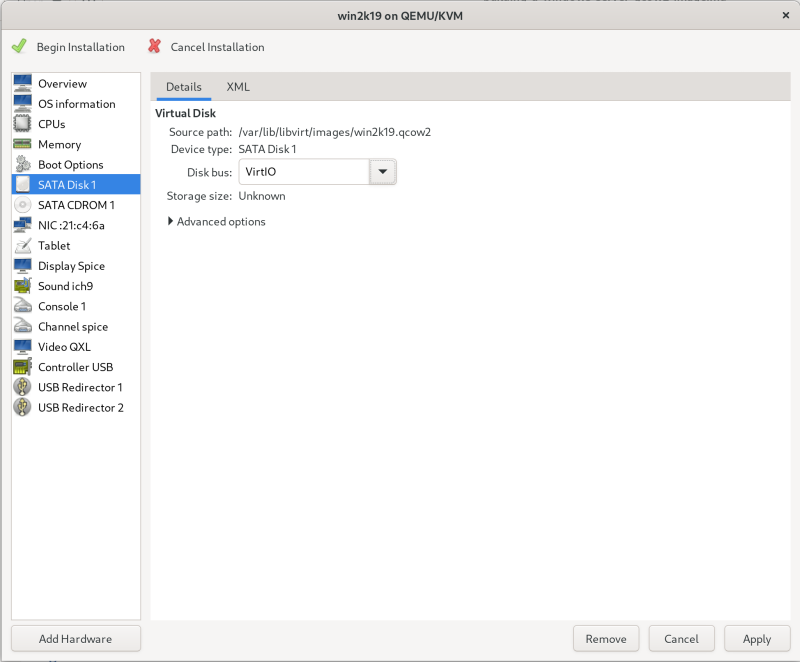
Now navigate down to the sata disk 1 and set the Disk Bus to VirtIO.
Next navigate to the NIC and set the Device Model to VirtIO.
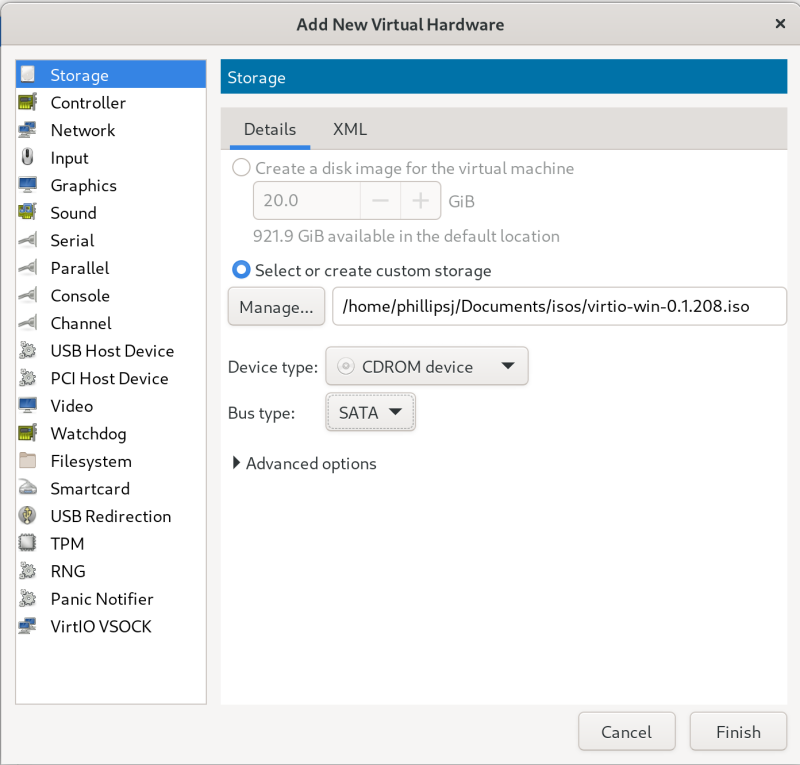
The last item we need to do is add a CDROM drive, so click on Add Hardware. We are going to add storage, then select Select or create custom storage and navigate to your VirtIO ISO. Make sure that the Device Type is CDROM device and that the Bus type is SATA.
That’s it for configuration, we have everything in place that is required to start our VM. You can now click on Begin Installation in the upper left hand side. When the VM boots the installer will be started. Select your version, I am doing Standard with the Desktop Experience, then agree to the terms. Your disk will not be visible, so you will have to install the VirtIO drivers for the disk and network adapter. Click on Load Driver and navigate to the amd64 folder in the root and click ok, you should be show a VirtIO SCSI driver, install that one. Then you will need to go back and load the driver in the NetKVM folder to get the network adapter working. After that, we can do the rest of the driver installs once we are on the desktop.
Install Drivers and Guest Tools
Now, we have system functioning, log into it and we can then install all of our drivers and the guest extensions. Navigate to the VirtIO CDROM and execute the virtio-win-gt-x64.exe to install all the required drivers.
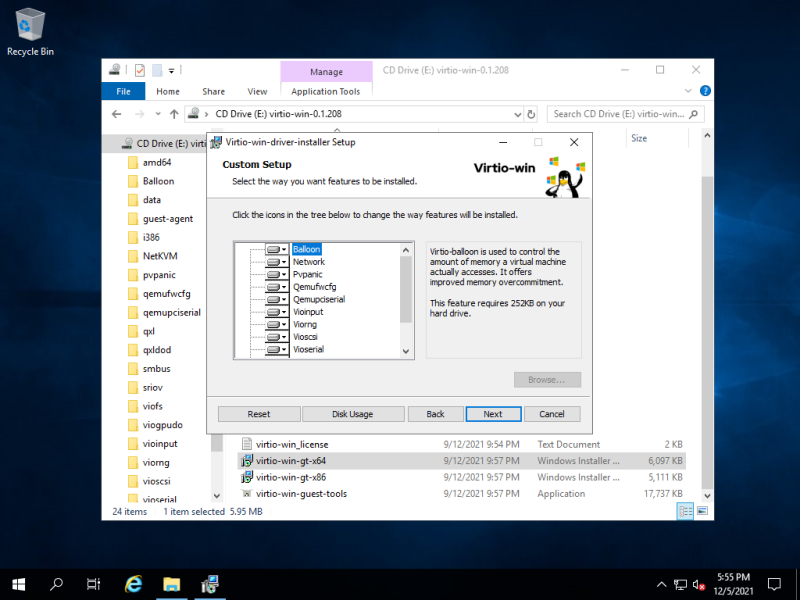
Once that is finished run the virtio-win-guest-tools.exe located in the same directory. This installer will install all of the guest tools like the Spice and Qemu agents.
I recommend rebooting after these installations.
Install Windows features and OpenSSH
Next we are going to install the required Windows features and OpenSSH so we can SSH into the system. Let’s install the Windows features first.
Install-WindowsFeature -Name Containers
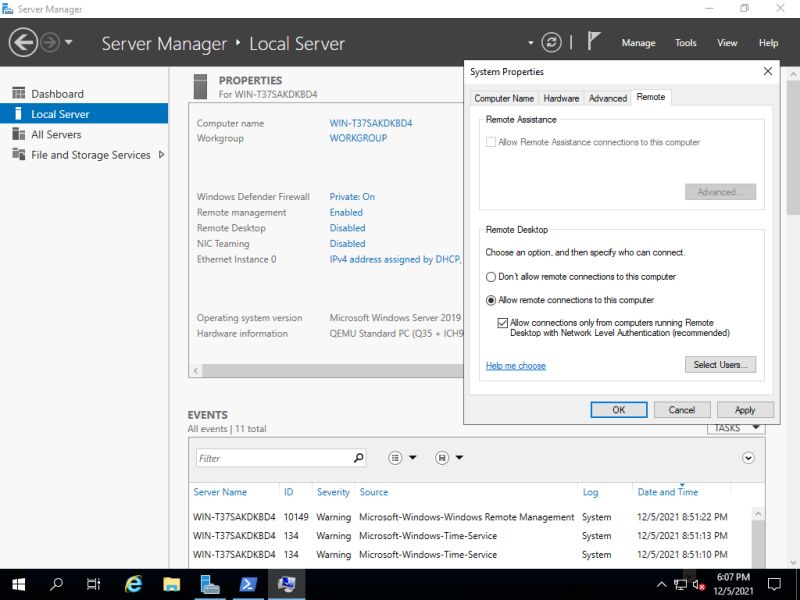
Enable remote desktop feature as it will be needed.
Installing OpenSSH can be done with the official docs from Micrsoft here. You will be required to restart after installation of OpenSSH before you can enable the service.
# Install the OpenSSH Client
Add-WindowsCapability -Online -Name OpenSSH.Client~~~~0.0.1.0

# Install the OpenSSH Server
Add-WindowsCapability -Online -Name OpenSSH.Server~~~~0.0.1.0

# Start the sshd service
Start-Service sshd

# OPTIONAL but recommended:
Set-Service -Name sshd -StartupType 'Automatic'
Now, we should set the default OpenSSH shell to PowerShell.
New-ItemProperty -Path "HKLM:\SOFTWARE\OpenSSH" -Name DefaultShell -Value "C:\Windows\System32\WindowsPowerShell\v1.0\powershell.exe" -PropertyType String -Force
I suggest at this point that you test that you can RDP and SSH into the VM. It would stink to proceed and then find out these don’t work.
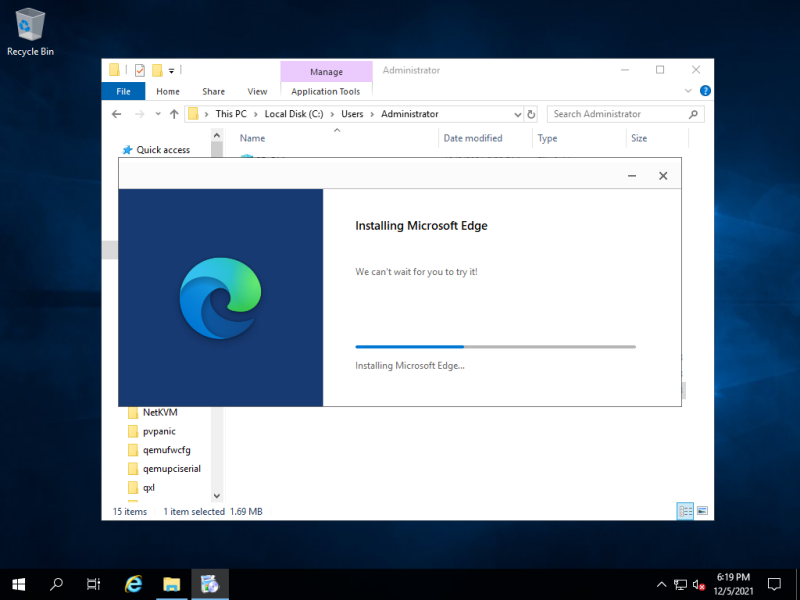
Install Edge and Chocolatey
Copy over the installer for Microsoft Edge and run it.
Once that is complete, you can run the Chocolatey installer.
Set-ExecutionPolicy Bypass -Scope Process -Force; [System.Net.ServicePointManager]::SecurityProtocol = [System.Net.ServicePointManager]::SecurityProtocol -bor 3072; iex ((New-Object System.Net.WebClient).DownloadString('https://community.chocolatey.org/install.ps1'))
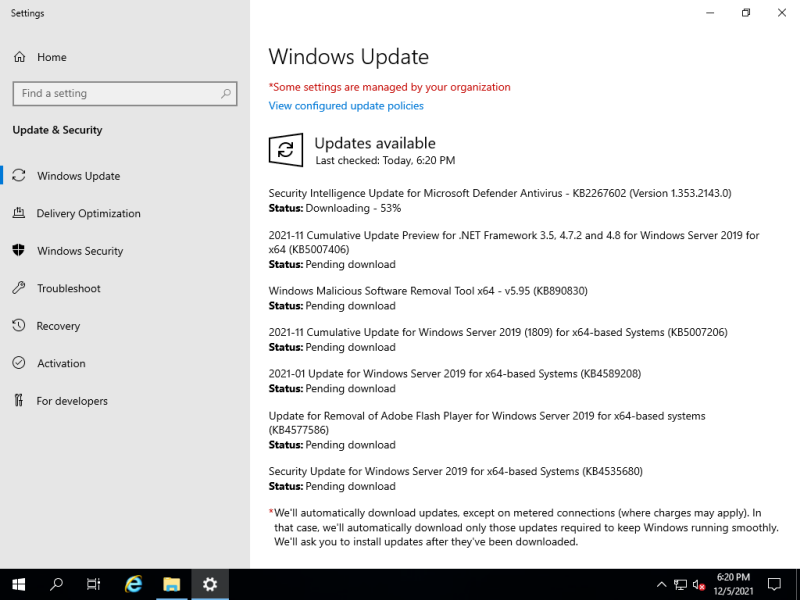
Install Windows Updates
Depending on the age of your ISO, you may have to run Windows updates multiple times and perform multiple reboots. I highly recommend you go through this now as to save yourself hassle in the future.
Great, we are as current as we can be for now, so this should help later when we need to run updates.
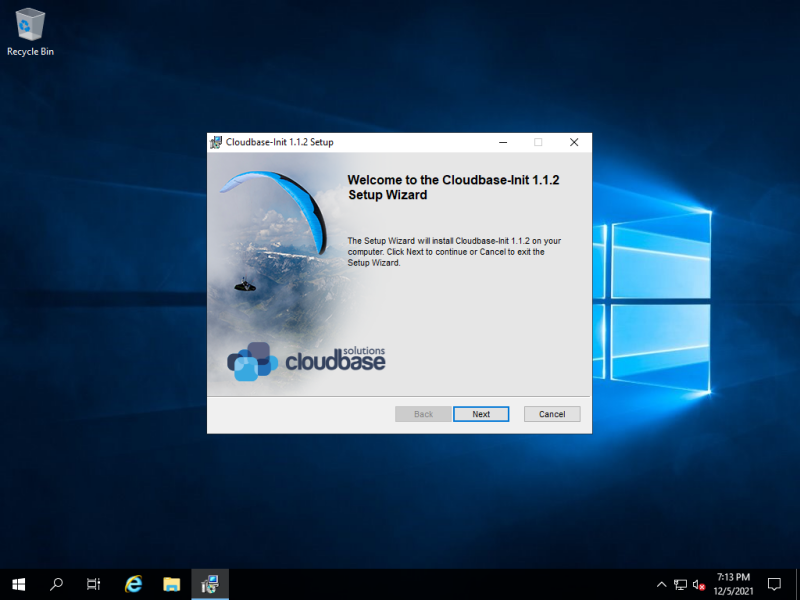
Install Cloudbase-init and Sysprep
We have finally made it to the last step. At this point make sure you have everything installed or configured as you want. Once we do this last step, we will have to create a new image to use as our base. We can start with our current image and make the adjustments, we would just need to sysprep again before making our template. The key is once we are through with the Cloudbase-init installation, we need to make sure to check the box at the end that asks about sysprepping the image.
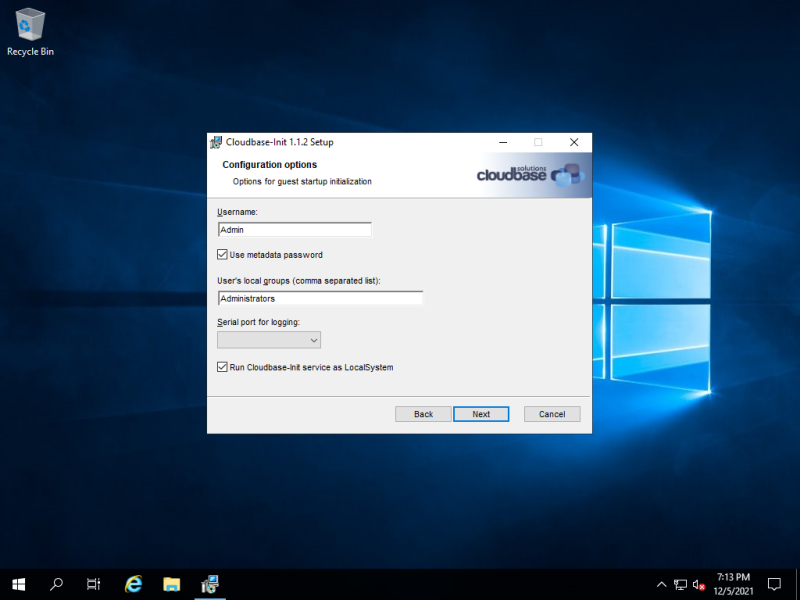
Make sure to enable the Cloudbase-init service to run as LocalSystem.
Once the installation completes, you will be prompted if you want to sysprep the systema and shutdown once it is complete. Check both fo those boxes and click Finish.
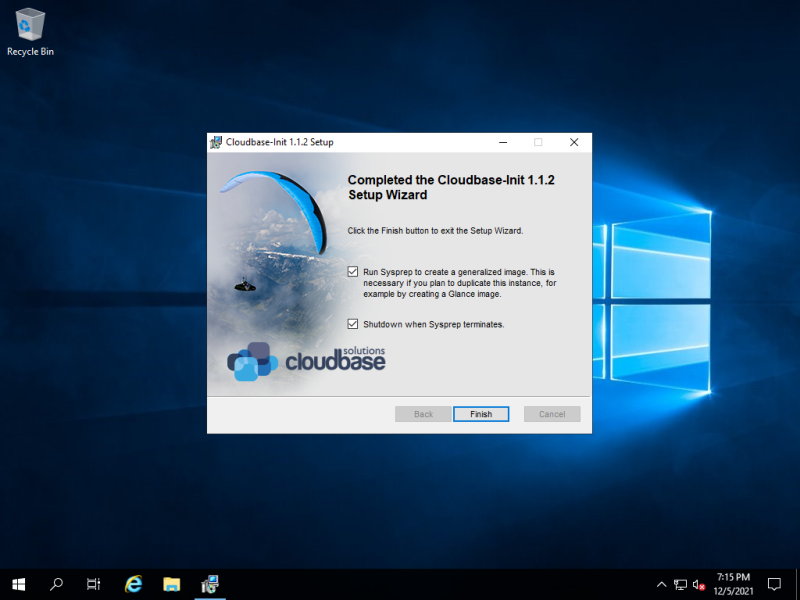
The VM should shutdown once completed. We are now ready to export our QCOW2 image.
Exporting the QCOW2 Image
We can now just copy the QCOW2 image of our Windows disk to use as our base when executing Terraform. You can find that location by going to the details and looking at the path of the VirtIO Disk 1.

I am going to copy this to my NAS so I have it on the network to allow it to be pulled in the libvirt provider.
Wrapping Up
Well I hope you had as much fun as I did making this QCOW2 image for Windows 2019. This going to enable a lot of additional capabilities that is going to make a ton of difference in my day to day. Not only having a base Windows 2019 image that is customized to my specific needs, but it will also allow me to execute cloud-init against the base image to enable better bootstrapping of Windows Servers. Stay tuned as I demonstrate how to use this with the Terraform libvirt provider.
Thanks for reading,
Jamie
If you enjoy the content, then consider buying me a coffee.